My 4-year-old Logitech G Pro gaming mouse started giving me random double clicking on the left button. It’s a common issue but took me quite a while to find a real fix, which is to replace the mouse switch. In this post I will talk about the different switches and how I replaced it.

Potential Causes for Mouse Random Double Clicking
A quick Google suggests that high humidity, static electricity and dust building up inside the mouse could all cause it to start acting weird. I tried taking apart the mouse and deep cleaned the inside and PCB surface, but it didn’t solve my problem.
Another common issue is mechanical wear which seem to be more likely in my case as my mouse is over 4 years old. More specifically, it’s the micro switch for the left mouse button. I could just buy a new mouse, but this is an expensive gaming mouse so I wanted to try and fix it. A new micro switch only costs $2 so it’s worth a try.

It doesn’t seem too difficult to replace the mouse switch, it’s only soldered to the PCB with 3 pins, so that’s what I am going to do.
The Types of Mouse Switches
There are quite a few different mouse switches on the market. A quick Google suggests that the popular switches are made by Kailh, and they offer GM2.0 (Teal), GM4.0 (Red), GM8.0 (Grey Translucent), White Dot and Black Dot. They all have different specs.

This video performed some interesting testing to find out the differences between all these switches. To sum it up:
| Life Span (clicks) | Easier to Click (force in grams) | Click Noise (dB) | Average Latency | |
| GM2.0 | 20m | 69g | 49dB | 0.4ms |
| GM4.0 | 40m | 64g | 42dB | 0.6ms |
| GM8.0 | 80m | 62g | 51dB | 0.6ms |
| White Dot | 5m | 69g | 49dB | 0.4ms |
| Black Dot | 5m | 66g | 49dB | 0.4ms |
The size of these switches are nearly identical (down to a few hundreds of mm, so the difference is almost negligible).
I went with GM8.0 because it has the longest life span, and the latency difference is honestly so small it’s not going to be noticeable.
You can purchase mouse switch at Amazon (affiliate link): https://amzn.to/3tbpf5v

Replacing Mouse Switch
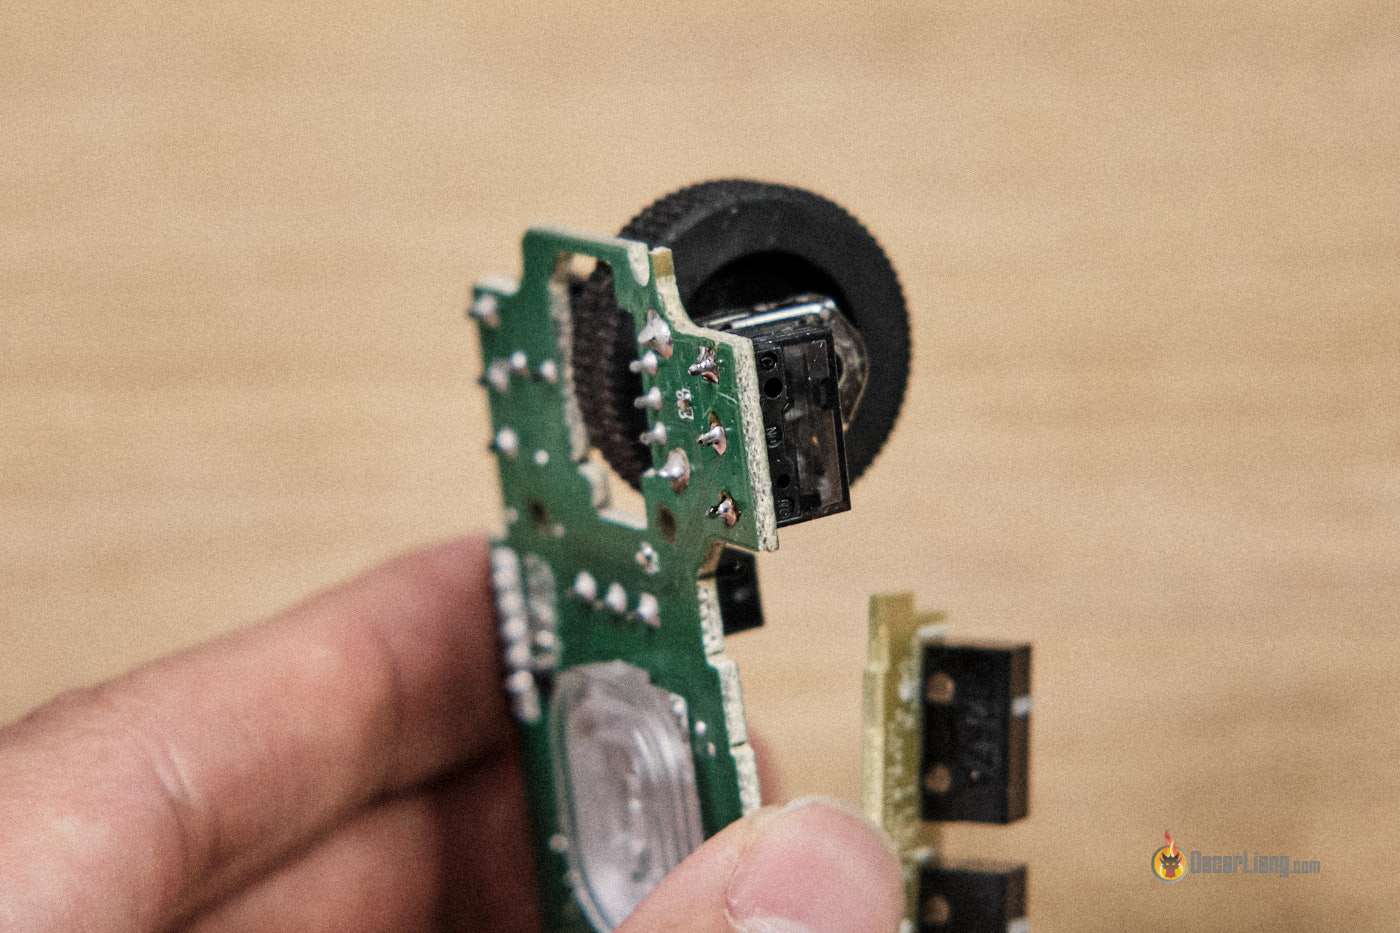
Remove solder on the 3 pins using solder sucker or solder wick, you can find links to purchase these solder removing tools here.
This is honestly the hardest part of the whole thing. Take your time and be patient, don’t overheat the solder pads for too long or you could risk damaging it. Don’t worry if you break the old switch in the process, we don’t need it anymore.

Once that’s done, you can easily insert the new switch in place.


Hope you find this guide useful and save yourself some money!
4 comments
I am looking for mouse micro switches which are a bit higher than the standard 6.5mm. This one is more like 8-8.5mm. Anybody know where I can find them?
Thanks in advance!
You can disassemble the button and clean its contacts, no need to unsolder.
Thanks for the tutorial. I did exactly that on a Microsoft mouse a few years ago. I did lift a copper trace in the process, but I was able to solder back a thin bit of copper wire.
I was doing mouse switch replacement long before building drones, and for much cheaper mouse. You don’t need to buy a new mouse switch, there’s plenty of switches available from older mice ;)