
Creating additional calendars and sharing it with other people, is easy and can be done in outlook client in a few steps. You can even manage permissions which I will show you at the end of the post.

Step 1: Create New Extra Calendar
Right Click on your own calender in outlook, and click on “New Calendar” Option

Give it a name, and choose an appropriate calendar group.

Here I created some dummy events in this new calendar.

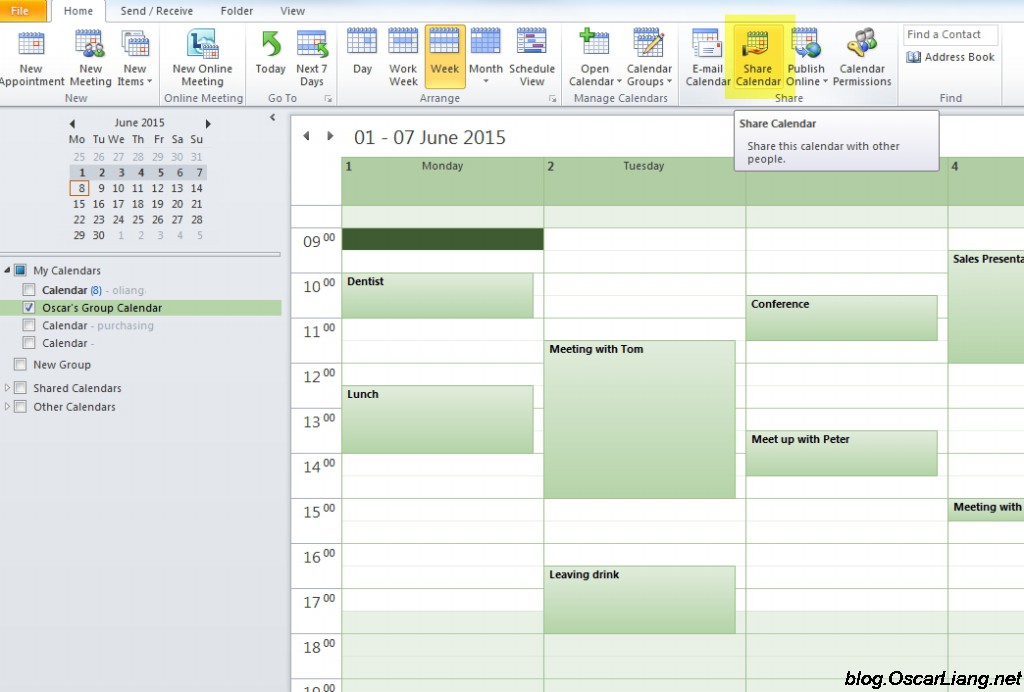
Step 2: Share Calendar with other people
To allow other people to see your calendar, you should share it by pressing the “Share Calendar” button on the Tool Menu.
Send this invitation to the people that you want to share your calendar with. By default these people will be also given Reviewer Access to the calendar you are sharing (See full detail of the events in this calendar, but cannot make changes or create events).

If you want to them be able to edit or create events in this calendar (editor access), check the box under the Subject field.
Step 3: Third Party Adding this calendar to their outlook.
People you sent the calendar invitation to, should receive an email like below.
If they click on the “Open this Calendar” option, it should open it in their outlook, and add the calendar to their calendar group.

Now you have successfully given your calendar to another person, and they can see this calendar in their outlook as a shared calendar.

Step 4: Manage Permission
You might decide to change/remove permission at the point in the future, and it’s easy to do.
Right click on your shared calendar, and click on “Properties”.

Here you should see a list of people that you are currently sharing the calendar with.

Adjust permissions as required, alternatively you can change permission level by selecting a different role.
This is the End of tutorial.
1 comment
Outlook is very popular software provided by the Microsoft. You can simply create the extra calendar and share with other people by reading the above post.