An oscilloscope is not essential for ordinary FPV pilots, but it’s surely a useful tool for troubleshooting and debugging. The Feizer FZ829 is also a good replacement for your traditional multimeter if you want extra features and capability of an oscilloscope and waveform generator.
This post is NOT a review. The Feizer FZ829 is my first oscilloscope, so I have nothing else to compare it to. I will just share my experience using the FZ829 from the perspective of an FPV pilot, and what you can use it for when troubleshooting FPV gear.
See my recommended tools and gear that I use everyday.
Table of Contents
Where to Buy
You can buy the Feizer FZ829 from AliExpress: https://www.aliexpress.com/item/1005004914043214.html ($25 off with coupon code: X7MAICS7LQ70)
You can find similar options for comparison here: https://s.click.aliexpress.com/e/_DCdUvI3
Packing List:
- 1 * 3 in 1 Oscilloscope
- 1 * Dual Injection Test Lead
- 1 * Scope Probe
- 1 * Signal Output Clip Wire
- 1 * Type-C USB Cable
- 1 * User Manual
- 1 * Cloth Bag
Closer Look
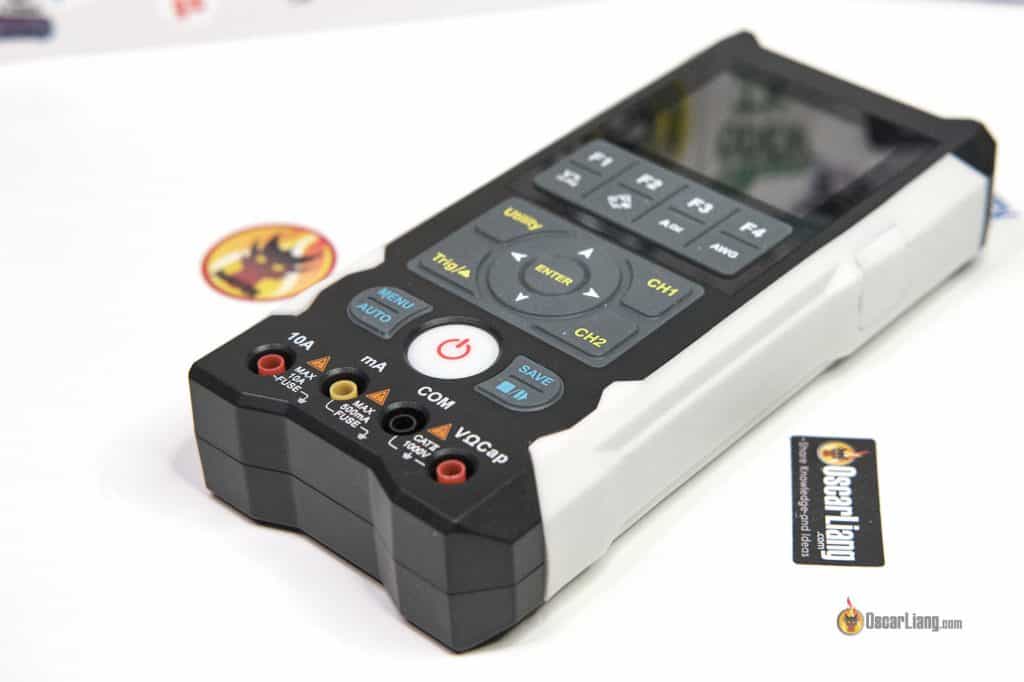
The Feizer FZ829 is a 3in1 device, it’s a Digital Multimeter / Oscilloscope / Waveform Generator. It looks similar to other handheld 3in1 devices with similar capability and price tag.
To power up, hold down the power button for 2 seconds, it takes just 3 seconds to boot up.
The FZ829 has a nice bright 2.8-inch color screen (320×240), the backlight level is adjustable and it’s readable under direct sunlight. It’s not a huge screen, but big enough to easily read what’s on there. The housing is rubber-like material, weighs similar to a digital multimeter.
On the top, it has 3 connectors, 2 of which are inputs (CH1 and CH2) for the oscilloscope, and an output for the signal generator (Gen out).

It comes with two 2000mAh 18650 Li-ion batteries already installed, which are connected in parallel.

- In DMM (multimeter) mode – 0.46A at 3.7V
- AWG mode – 0.50A at 3.7V
- Oscilloscope mode – 0.51A at 3.7V
So those batteries would last about 8 hours per full charge, not bad!
There is a USB-C port for charging on the side of the device, which is protected by a rubber cover.
Charging only work with normal USB port, PD/QC charging adapter doesn’t seem to work. The maximum charging power is about 12W, not the advertised 15W. It takes about 90 minutes to fully charge the included batteries.
How to Use It As Multimeter
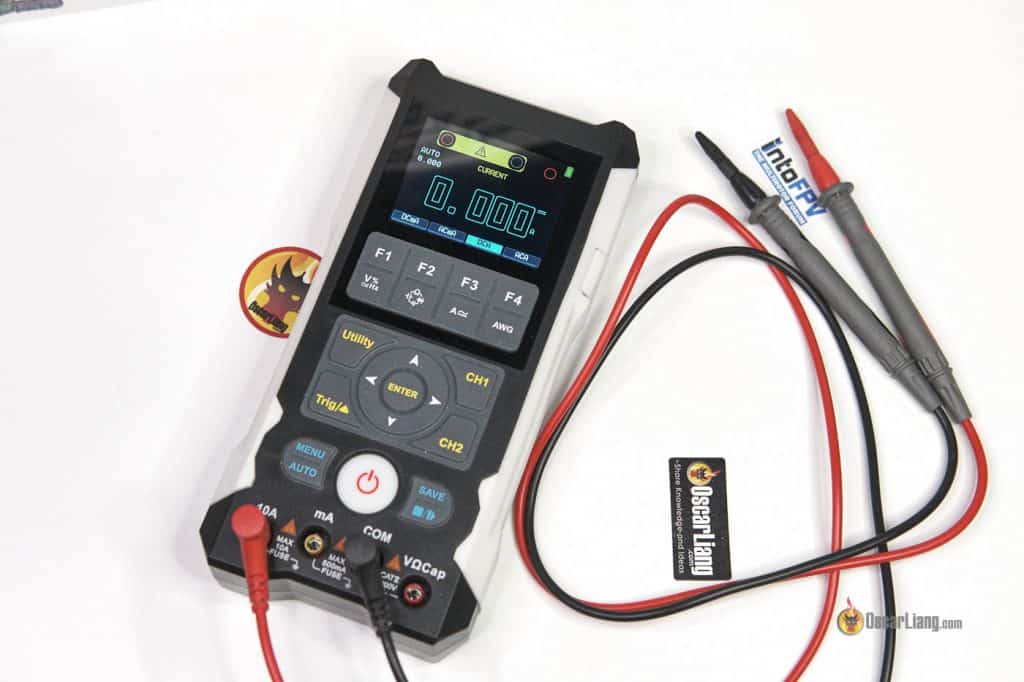
The FZ829 boots up in multimeter mode, or you can also press one of the four multimeter mode buttons under the screen (under F1-F4), to go into the respective multimeter modes.


Let’s see how accurate the voltage reading is by measuring the output of my ToolkitRC P200 bench power supply, it seems to be spot on!
You can measure the capacitance of a capacitor.
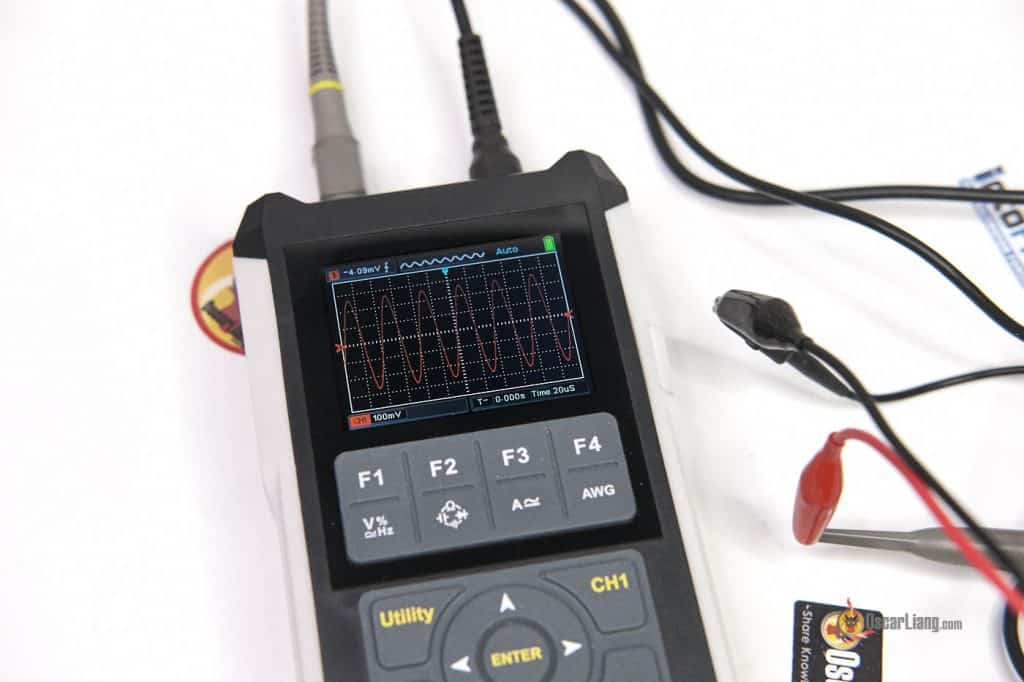
You can also measure the frequency of a signal. Here I am measuring the signal from the waveform generator (25.5KHz sine wave).
How to Use It As Oscilloscope
An oscilloscope is used to display and analyze the waveform of electronic signals, it draws the signal voltage as a function of time. There are a lot of signals in FPV you are measure with an oscilloscope, such as
- ESC signals (PWM, Oneshot, Multishot, DShot etc)
- radio receiver signals (PWM, PPM, SBUS, CRSF etc)
- even analog FPV camera signal
A oscilloscope is a powerful tool for troubleshooting if you know how to use it.
First of all, attach the scope probe to the FZ829. There are two channels available, CH1 and CH2, you can use either one, or both (you can measure two sources simultaneously).

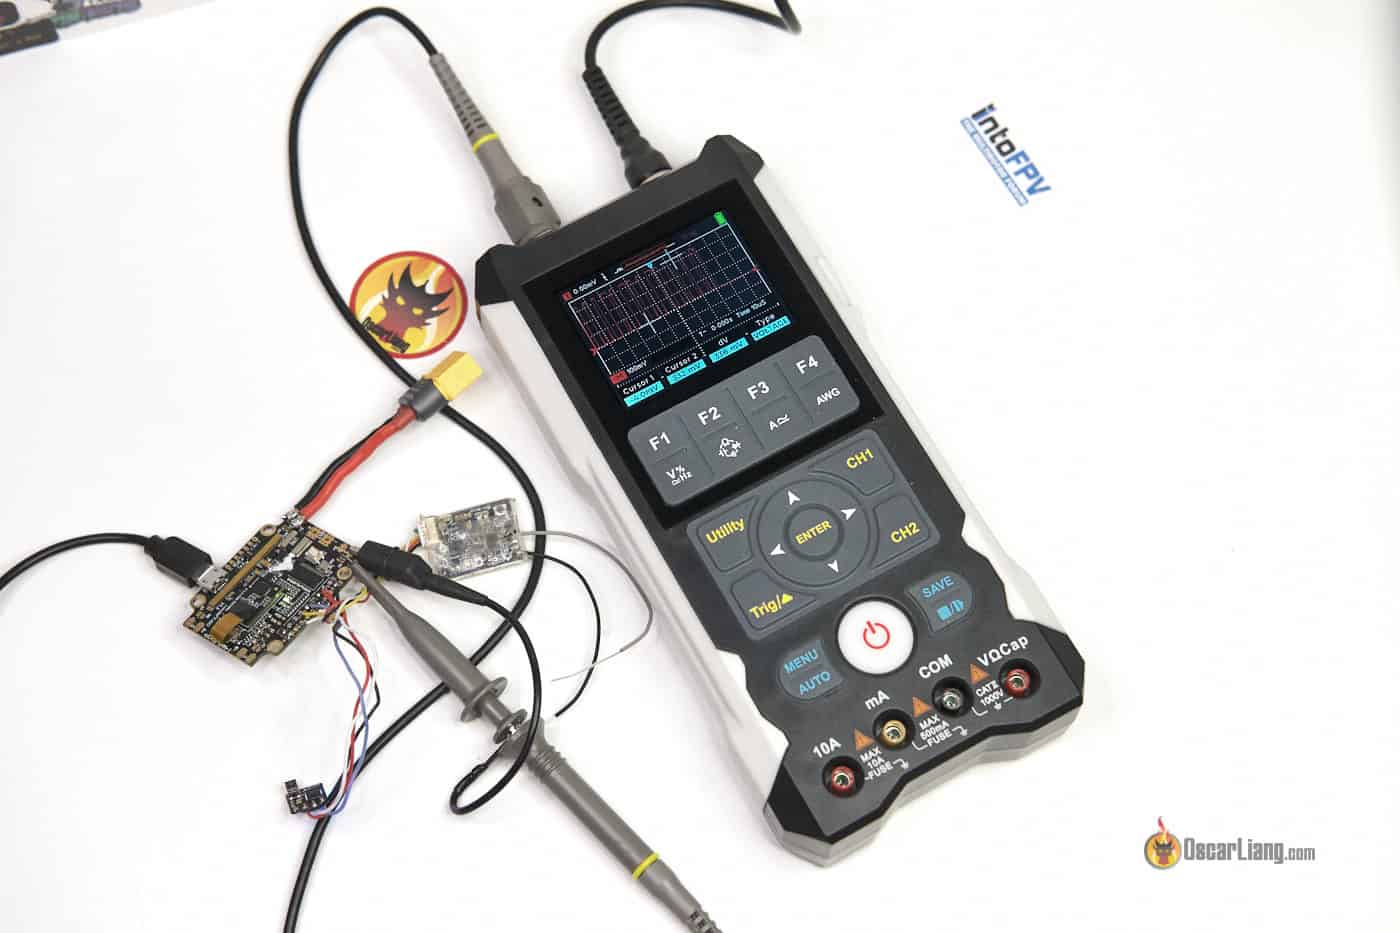
Connect the probe’s ground clip to any ground pad on the FC, and the probe tip to the motor signal output.

In Betaflight I set the ESC protocol to PWM, and here we have a PWM signal at 0% and 100% motor output, you can see how the duty cycle changes with motor output.
The FZ829 can also measure amplitude and frequency of a signal. Press the Menu button and you can display additional information, including voltage readings, frequency/period of the signal etc.
I then changed the ESC protocol to DShot300. DShot is a digital signal (just a series of 0’s and 1’s), so it’s much harder to understand what’s actually going on by just looking at the waveform. If I display the frequency of the signal, it actually reads 300KHz which correspond to the 300 in DShot300. When I changed it to DShot600, I got 600KHz. Now we know where they got the names from :)

Now let’s test an analog FPV camera!


How to Use It As Waveform Generator
Press the “AWG” button (under F4) to enter the signal generator mode. There are 3 types of waveform you can output: sine, square and triangle.

- Sine waves 1Hz – 5MHz
- Square waves 1Hz – 1MHz
- Triangle waves 1Hz – 1MHz
You can enter any value for the frequency within the limit, but for voltage the options are pre-defined.

You can measure the generated signal using the built-in oscilloscope.
Press the “Auto” button to properly size the waveform on the screen.

Specifications and Features
- Material: ABS
- General characteristics:
- Display resolution: 320 (horizontal) * 240 (vertical) pixels
- Display size: 2.8inch TFT color screen diagonally
- Display backlight time: adjustable
- Display backlight brightness: adjustable
- Power supply: AC100V-240V, 50Hz/60Hz; DC15W quick charging
- Power consumption of the whole machine: Oscilloscope range≤400mA, multimeter range≤200mA
- Battery: 18650 lithium battery 2000mAh x 2 (included)
- Battery level indicator: Yes
- Auto sleep: the time can be adjusted or turned off, and there will be a sound or display prompt before sleep.
- Sound prompt: On/off optional; there are various kinds of voice prompts, such as button sound, high pressure or over-range alarm sound during measurement, and some AI voices that may be added, etc. To turn off the sound, you can choose to turn off the sound of the whole machine, or just turn off a selected prompt sound.
- Use time: about 10 hours for oscilloscope range, about 20 hours for multimeter ranges
- Operating environment: 0℃〜40℃, <75%RH
- Storage conditions: -10℃~60℃, <90%RH
- Item size: 100 * 210 * 40mm / 3.94 * 8.27 * 1.57in
- Item weight: 480g / 1.06lb
- Package size: 237 * 185 * 55mm / 9.33 * 7.28 * 2.17in
- Package weight: 830g / 1.83lb
Oscilloscope Specifications:
- Number of channels: Channel CH1, Channel CH2
- Bandwidth: 80MHz (single channel), 50MHz (dual channel)
- Maximum real-time sampling rate: 250MSa/s (single channel)),125MSa/s (dual channel)
- Waveform interpolation: (Sin x) /x
- Record length: When single channel, the maximum is 6K; when dual channel, the maximum is 3K
- Horizontal scale range: 5nS/div〜50S/div, 1 > 2、5steps
- AD converter: 8-bit resolution, simultaneous sampling of each channel
- Vertical scale range: 1 X: 10mV/div-10V/div; 10X: 100mV/div-100V/div
- Vertical measurement range: ±4 grid
- Optional bandwidth limit: 20MHz
- Low Frequency Response (-3db): ≤10Hz at BNC
- Vertical Gain Accuracy: ±3% in “Normal” or “Average” acquisition mode
- Input resistance: 1MΩ/15
- Input Coupling: DC, AC, GND
- Probe attenuation: 1X, 10X
- Support probe attenuation factor: 1X, 10X, 100X
- Input protections voltage: 300Vpp
- Trigger Type: Edges Trigger
- Trigger Mode: Auto, Single, Normal
- Trigger level: ±4div
Multimeter Specifications:
- DC voltage: 600.0mV-1000V, 0.75%rdg + 10dgt
- AC voltage: 600.0mV-750V (TRMS,frequency range:40Hz-1KHz), 1.0%rdg + 10dgt
- DC current: 60.00mA/500.0mA, 6.000A/10.00A
- Overload protections: fuse type fuse 500mA/250V,10A/250V, 1.2%rdg + 10dgt
- AC current: 60.00mA/500.0mA, 6.000A/10.00A (TRMS) Overload protections: fuse type fuse 500mA/250V,10A/250V, 1.5%rdg + 10dgt
- Resistance: 600.0Ω-60.00M, 1.0%rdg + 5dgt
- Capacitance: 10.00nF-1.000mF, 2.0%rdg + 10dgt; 1.000mF-100.0mF, 5.0%rdg + 10dgt
- Frequency: 10.00Hz-10.00MHz, 1.0%rdg + 5dgt
- Diode test: Open circuit voltage is about 3V,maximum test current is about2mA
- On-off test: ≤50Ω beep,≥600Ω display 0L
Waveform Generator Specifications:
- Waveform frequency:
- Sine waves: 1Hz-5MHz
- Square waves: 1Hz-500KHz
- Triangular waves: 1Hz-500KHz
- Amplitude: Fixed-point output, maximum 5Vpp (50Ω)——0Vpp, 0.1Vpp, 0.2Vpp, 0.5Vpp, 1Vpp, 2Vpp, 3Vpp, 5Vpp
- Frequency Resolution: 0.2Hz
- Number of channels: 1
- Vertical resolution: 8 bit
- Output Impedance: 50Ω
- Square waves pulse width accuracy: ±20nS
Is this 3in1 device better than my multimeter?
Weight and size are similar (the FZ829 is 530g vs my old multimeter’s 450g), I can definitely see myself picking up the FZ829 and use it on a daily basis. Really enjoy the color screen, definitely more interesting to look at than the monochrome screen in my old multimeter. When it comes to ergonomics, I find the FZ829 harder to use, you have to press the buttons really hard to register, and it’s just not as fast to use as the selector wheel on the typical multimeter.
This is the multimeter I am using, BSIDE ADM08A (under $20, it’s extremely good value:
- AliExpress: https://s.click.aliexpress.com/e/_DdghQPD
- Banggood: http://bit.ly/2rDzPRL
Oscilloscope could be useful for troubleshooting, but I don’t think it’s for everyone, there are not many situations where you need to troubleshoot an FPV drone or FPV equipment with an oscilloscope. A decent multimeter is enough for most people and it only costs 1/5 of that price. My multimeter’s battery can last literally years, I haven’t charged or replaced the battery ever since I bought it 4, 5 years ago, so that’s another advantage. With the FZ829 you will probably have to re-charge it every few weeks if you use it often which becomes a hassle. But the Feizer can be a handy tool to have around if you are into tinkering.


