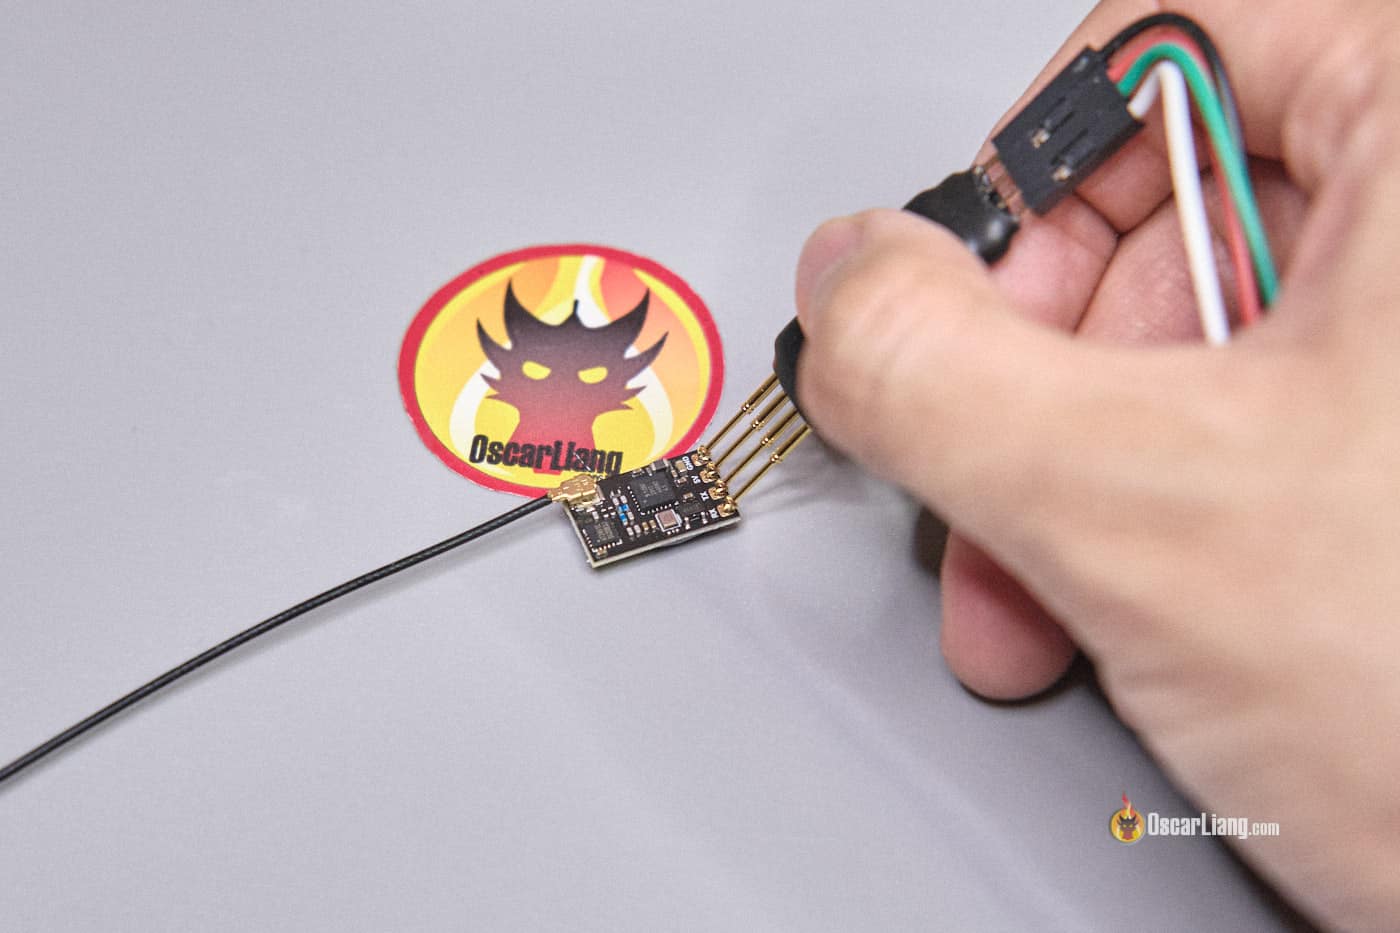
Ever found yourself with a bricked ExpressLRS receiver after a bad firmware update? Or are you unable to flash your RX using FC Passthrough nor WiFi? This is where an FTDI dongle comes into play. In this guide, I’ll walk you through the process of flashing ExpressLRS receivers via UART using an FTDI programmer, such as the Radiomaster USB UART Flasher.
Table of Contents
Why Use FTDI for Firmware Updates?
While the easiest methods to update firmware are via Betaflight Passthrough or Wi-Fi (which I’ve covered in a previous tutorial), there are instances where these methods might fail, such as a loss of connection. These issues can result in bricked receivers, where the bootloader becomes corrupted.
An FTDI programmer, which enables flashing via UART, can come to the rescue. This method can also be useful if you’re not using a flight controller or don’t have access to Wi-Fi. It’s a versatile solution that works with all brands of ELRS receivers, for both 2.4GHz and 900MHz, without the need for specialized software.
Hardware Requirement
For this task, you’ll need a USB to serial programming tool, commonly known as an FTDI Programmer. Many manufacturers offer dedicated tools for this purpose, such as the Radiomaster USB UART Flasher, available here:
- Radiomaster: https://oscarliang.com/product-ws22
- RDQ: https://oscarliang.com/product-28jq
- AliExpress: https://s.click.aliexpress.com/e/_DdFjgRf
While BetaFPV also offers a similar tool, the ExpressLRS Recovery Dongle (https://oscarliang.com/product-9zim), I’ll be using the Radiomaster model in this demonstration. The steps, however, are similar for both.
A generic FTDI programmer is a cheaper option (https://oscarliang.com/fpv-tools/#FTDI-Adapter), though it lacks the convenience of spring-loaded pins and other dedicated harness that facilitate solder-free connections.
The FTDI programmer is straightforward to use. You’ll be using 4 pins: RX, TX, VCC, and GND. VCC is 5V, GND is ground, and RX/TX are the data connection.
Step 1 – Plug in FTDI Dongle
Start by opening the ExpressLRS Configurator and noting the available COM Port (COM port number can be different on your computer).
After connecting the FTDI dongle to your computer, select the newly appeared COM port. If no new COM port appears, you may need to install the cp2102usb driver.
Step 2 – Connect Receiver to FTDI Dongle
To update via FTDI, the receiver must be in bootloader mode.
To put the receiver in bootloader mode, hold down the boot button on the receiver (which looks like the bind button) while connecting it to the FTDI Dongle. You can release the button once the LED turns on. For receivers without a bind button, you’ll need to bridge two pads. You can remove the solder bridge after flashing.
Once the receiver is in bootloader mode, you should see a solid red LED.
Connect the receiver to the FTDI Dongle using the spring-loaded pins (while holding down the boot button). Here’s the connection order to follow:
- VCC – 5V
- GND – GND
- TX – RX
- RX – TX
Should I use 5V or 3.3V? For most ExpressLRS receivers, the 5V setting is appropriate.
The Radiomaster UART Flasher also includes a cable harness for receivers without solder pads.
Once connected, the receiver should power up with a solid LED, indicating it’s in boot mode and ready to be flashed.
Step 3 – ExpressLRS Configurator
Proceed with the standard setup in the ExpressLRS Configurator. Choose your firmware version, device category, and specific model. Ensure the flash method is set to UART.
Configure the rest according to your preferences, and confirm the COM port of your FTDI programmer.
Step 4 – Start the Update
Click on ‘Build & Flash’ to initiate the update. Once the process completes successfully, you can disconnect the receiver from the FTDI dongle.
Conclusion
Knowing how to update ExpressLRS receivers via FTDI is highly useful, particularly when other approaches fail. This tutorial aims to provide a clear, step-by-step guide to efficiently recover and upgrade your ELRS RX using an FTDI programmer, such as the Radiomaster USB UART Flasher. This process might save your bricked RX from being discarded. Remember, always double-check your connections and settings to ensure a successful update.


