Smoke stopper is a must-have tool for checking if there is an electrical fault in your newly built FPV drone. The Vifly ShortSaver is a ready-to-use smoke stopper alternative, but is it reliable and better? Let’s find out in this review!
Apart from using a smoke stopper, you should also use a multimeter to check continuity of your drone.
Where to Buy Vifly ShortSaver?
UPDATE (Jan 2021): There is now a V2!

Like the “Floppy” Props? These are the DAL Fold.
Does ShortSaver Actually Work?
I tested the Vifly ShortSaver and it protected my ESC against reversed polarity. Over current protection also worked as expected. Check out this video for proof, and demonstration on how to use the ShortSaver to test your drone.
Only 1 ESC was harmed in the making of this video :D
Close Look at the Vifly ShortSaver
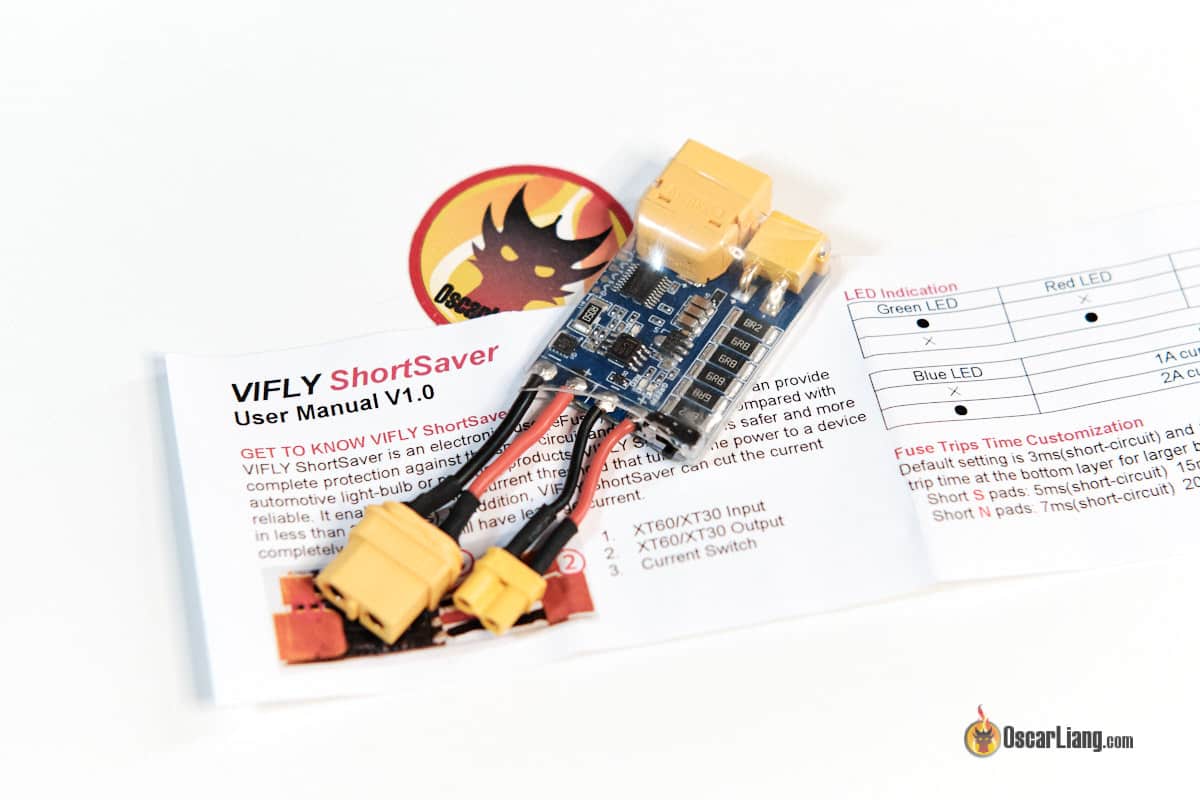
The Vifly ShortSaver has both XT30 and XT60 connectors, which is a convenient feature. You can use it on your normal 5″ builds as well as micro builds like a 2″ without additional power adapters. The XT30 and XT60 connectors are inter-connected, so you can use the XT30 as input and XT60 as output, or vice versa.
It has two current limit levels – 1A and 2A for different applications. If there are power hungry devices installed in your drone, like a VTX or DJI Air Unit, you can select 2A. The 1A option is safer and more sensitive, preferably for low power builds like a 2″ or 3″.
There are an array of self-resetting fuses and a current sensor on the PCB.
The green status LED lights up when everything is working correctly.
But when there is a problem (e.g. a short circuit), protection would kick in by immediately cutting off power to to your drone, and displaying the red LED.
The same happens when you increase throttle as the motors draw excessive amount of current. That’s why I always use my smoke stopper when I am flashing ESC firmware, if something goes wrong during flashing and it spins up the motors, I am protected (as well as the hardware).
Here is the manual.
Is ShortSaver Better Than Smoke Stopper?
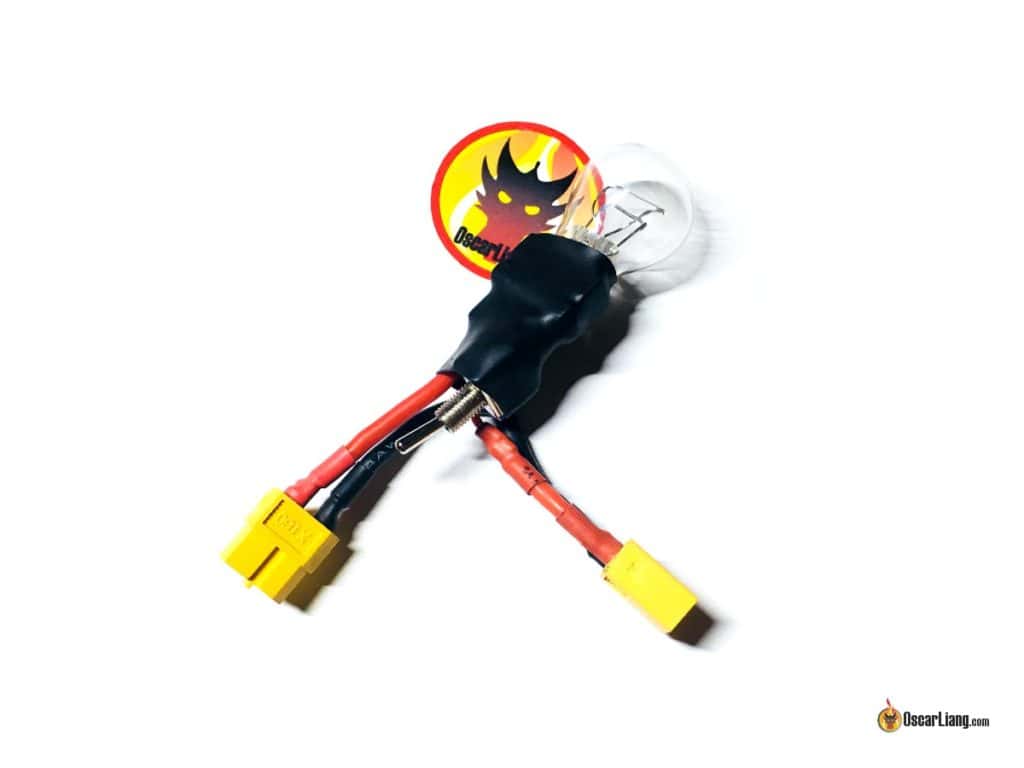
Is the ShortSaver more reliable than the traditional automotive light-bulb smoke stopper? I will have to use it more before I can answer that. But so far it seems to work as expected from my testing (see video above).
And there are indeed a few advantages to the ShortSaver over the traditional Smoke Stopper.
First of all, ShortSaver is more convenient to use, because you don’t have to build it yourself. Although it’s really not that difficult to build a smoke stopper as explained in this tutorial.
And the ShortSaver is way more sturdy than a smoke stopper. It’s just a piece of PCB, it won’t break as easily as a bulb if you drop it or squeeze it too hard. Much better for transportation too.
ShortSaver completely cuts off current flow when protection kicks in. The Bulb Smoke Stopper only limits the current. ShortSaver behaves more like a fuse, while the Smoke Stopper is more like a current limiter.
ShortSaver Supports up to 6S, while the smoke stopper only supports 3S (or a discharged 4S at most).
False Alarm? How to Fix it?
The ShortSaver seems to be very sensitive to current surge. While this is not necessary a bad thing, it can leave some people with the impression that there is something wrong with their drone builds, but it could just be a false alarm.
When I am testing my 5″ build, it would almost always cut off the power as soon as I connect a 4S 1500mAh battery. But with a smaller LiPo such as a 3S 520mAh it was totally fine.
The solution to this is to bridge the “S” or “N” pads on the back of the PCB, this will increase the reaction time, effectively reducing the sensitivity to current surge.
Bridging the “S” pads worked in this case, I can now plug in 4S 1500mAh and it no longer gives me false alarms.
With S pads bridged, the reaction time for short circuit is increased from 3ms to 5ms, for over current it’s increased from 10ms to 15ms. Bridging the N pads will increase those to 7ms and 20ms respectively.
For larger builds than 5″, you might want to bridge the N pads. I suggest testing this on a drone that you know is working when you get your ShortSaver.
Improvements I want to See
- Include an On / Off switch for power, so we don’t have to plug/unplug XT60, useful for binding receivers too
- Additional switch for S and N pads (different reaction times), instead of solder pads


4 comments
what does GREEN LED ON and RED LED ON mean?
I have a question that I believe is pertinent. Last night I finished wiring up an iFlight Megabolt race 50A ESC. It came with 2, 25v-2000 iU capacitors, which I also installed using 15mm of 22 gauge wire on each post of the capacitors, connected to the tiny pads put next to the main battery pads. I have never used a cap with 2000 iU before, let alone 2 of them. I figured that since it came with 2 caps I would use them both. I like to test my ESC ‘s before I proceed with a build, so I connected a 4s 1500Mah to the Shortsaver, set it to 2A, and then connected it to the XT 60 on my build. It quickly went red. I checked my wiring with a multimeter and everything appeared good. I assumed that it had something to do with the caps since I had not experienced this before. So I held my breath and used my traditional smokestopper. I plugged in a 1300 6s battery since that is what I plan on using. I heard the initial ESC tones that I wanted to hear. Nothing smoked and all is well. So, do you think it was the caps since I had not had this happen before using a 4s battery?
possibly, especially with two big caps it will cause quite a bit of current surge when you plug the battery in.
Test it with a smaller battery as long as that works it should work fine on 6s.
Thanks for the review.I think I will add my own switches.