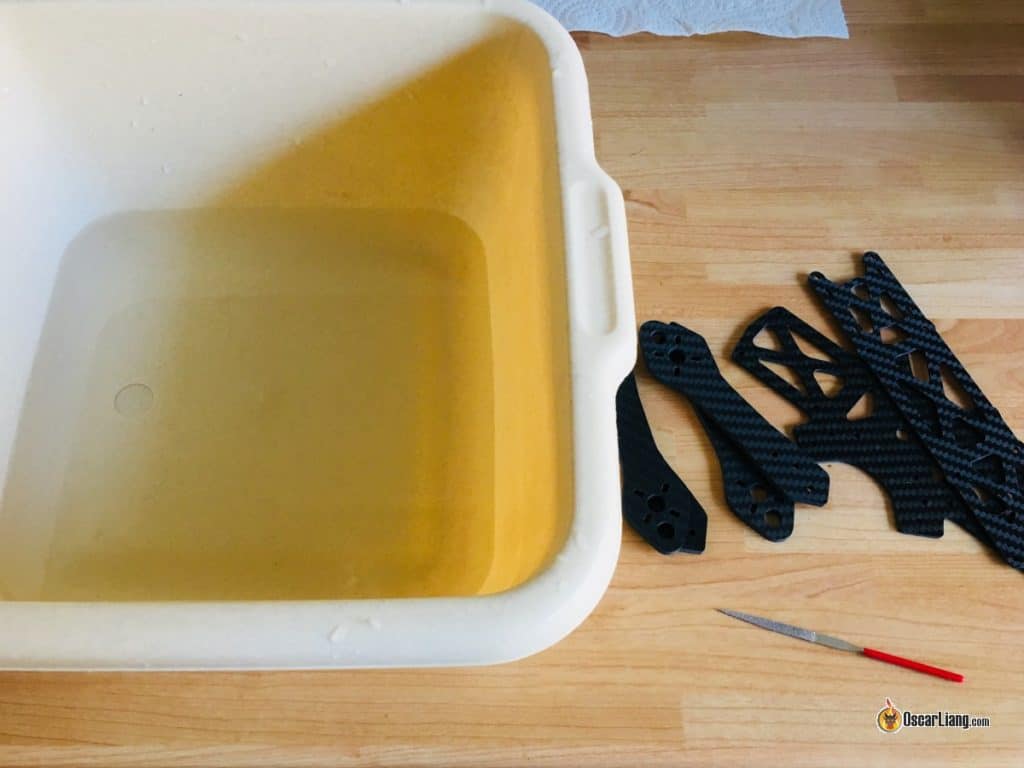
Most FPV drone frames these days come with premium features such as chamfered edges, so there’s no extra work for the user. However, if your frame is quite cheap and has sharp edges, I recommend doing a little preparation by washing off carbon dust and chamfering the edges using a file or piece of sandpaper. This is beneficial for maintaining the integrity and reliability of your carbon fibre frame.
Table of Contents
Why Prepare New Carbon Fibre Frames?
Carbon fibre is conductive, and there could be residual carbon fibre dust left after the pieces were cut. It’s a good idea to wash all the carbon fibre components included in the frame kit.
Carbon fibre frames often have sharp edges that could cut electrical wires or battery straps during a crash.
Additionally, chamfered carbon fibre edges maintain their structural integrity better in crashes and reduce the risk of delamination.
Thankfully, more and more frame manufacturers now provide chamfered edges as a standard feature, which is great. However, if they don’t, it’s not the end of the world, as it only takes about 15–20 minutes to polish those frame edges yourself.
Preparing the edges makes your frame more reliable, enhances its appearance, and feels great in your hands. :)
Where to Buy the Tools?
Buy a file set here:
- Amazon – https://amzn.to/3vlJZaV
- AliExpress – https://s.click.aliexpress.com/e/_DC3VA7R
How to File Frame Edges
Prepare the Setup
Get a bucket filled with water, and dip both the frame and the file/sandpaper in the water. This helps to suppress carbon fibre dust.
Start Filing
Place the file at a 45-degree angle against the edge and start sanding off material. Change the angle slightly as you go to achieve a rounded, smooth edge.
Perform the scrubbing inside the water to avoid breathing in carbon fibre dust, which is extremely harmful to your lungs.
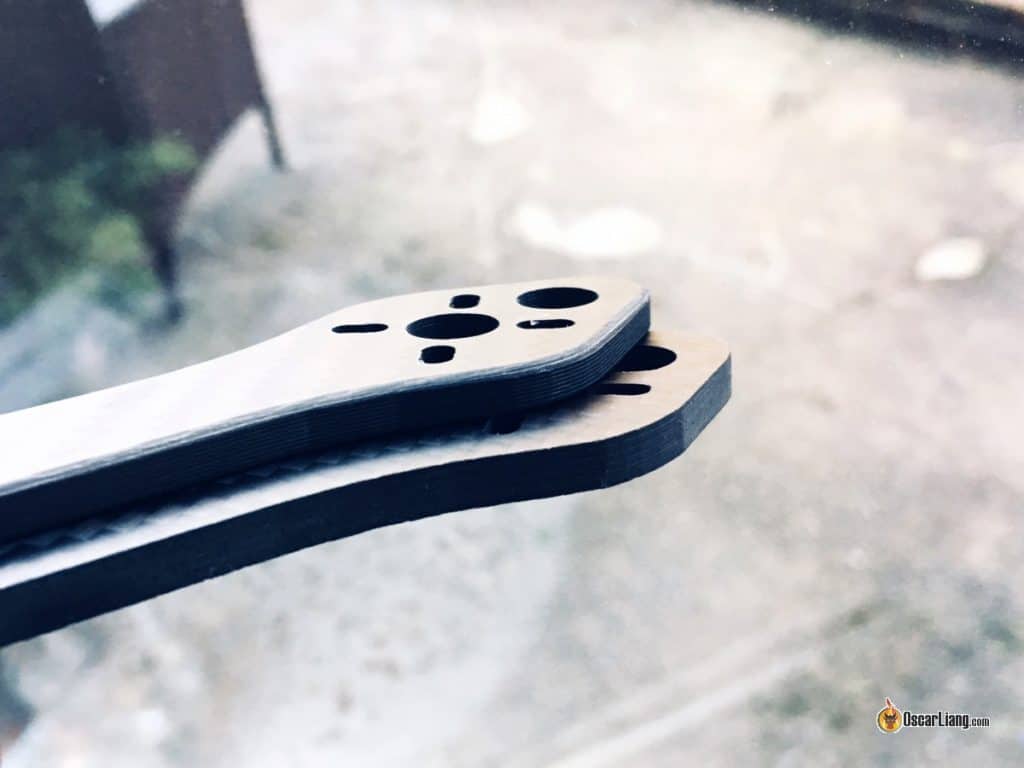
Here’s an example: The top arm has rounded, prepared edges, while the bottom arm has unprepared, sharp edges.
Avoid Overdoing It
Avoid over doing it though, by removing too much material, it can weaken the frame’s strength. Only work on exposed edges that you can touch or that are likely to encounter crashes.
Perform this on both sides of the frame plates and arms.
For example, on this frame, I only sand down the outer edges marked by red lines in the diagram below. However, this is entirely up to your preference.
Glue the Frame Edges
It’s common practice to apply epoxy or CA glue (super glue) to the edges of the frame after chamfering. This further increases the frame’s strength in crashes and reduces the risk of delamination by holding the carbon fibre sheets tightly together (carbon fibre plates have many layers glued together).


8 comments
how did you use the dremel underwater? the extension?
Hi Oscar, congratulations for all your tutorials!
reading this article, I became skeptical about the problems of carbon fiber, don’t you think it’s a bit of a job working on it with abrasive paper or even with Dremmel?
In many cases, health problems with carbon fiber are compared to asbestos! Even using a water basin … you can have long-term contacts and after many days of processing. I would recommend another method to avoid the accidental tearing of wires, cighie or other.
See you soon
Why not tell people how toxic carbon fiber is and to wear a mask?
Hey Oscar I have a little bit of a problem with an Quanton flight control board that I originally configured with Mission Planner, but never got around to putting it on an frame. Clean flight and the CC3D boards were much easier for me to configure at that time. To make a long story short, I want to use this board to setup an Ironman 600 quad and make use of the power and connectivity of the STM32F405 Arm processor. I tried to flash the firmware from the TAULAB’s GCS and got as far as calibrating all of the on board sensors using an windows 10 laptop but when I got to the RX setup I can’t get it to recognize the PPM TX/RX inputs. The GCS status board is all green except for the reciever it shows red not available. Can you point me in the direction I need to go to resolve this. If necessary i can try to send you a screen shot of the configuration . Help me please!!
Sorry I have not come across “Quanton flight control board” and not even sure what firmware they use. maybe contact their customer support?
QuadCow.
It was addressed in the beginning.
:We do this underwater to avoid breathing in dust from the carbon fibre, which is extremely bad for your lung.
Just wanted to throw out there that I spent hours in total chamfering all my frames. Then I bought a dremel with a a very fine grained cylindrical sanding bit and the whole frame is done in a matter of minutes. Incidentally, this same tool can be used to drill or cut parts of the frame.
hours? lol you must be a perfectionist :)