
When building or modifying an FPV drone, one question that often comes up is: Can I mount my motors upside down? The short answer is yes, and this setup is known as a pusher configuration. This means the motors and propellers are flipped, pushing air downward rather than pulling it.


While this configuration has some advantages, particularly for cinematic FPV drones, it also comes with a few downsides. In this guide, I’ll break down how the pusher setup works, what you need to consider when switching to it, and how it affects flight performance and durability.
Further Readings:
- Learn more about propellers: https://oscarliang.com/propellers/
- Learn more about motors: https://oscarliang.com/motors/
Table of Contents
What Is a Pusher Configuration?
In a traditional FPV drone setup, motors are mounted on top of the arms with the propellers (props) pulling air downward.

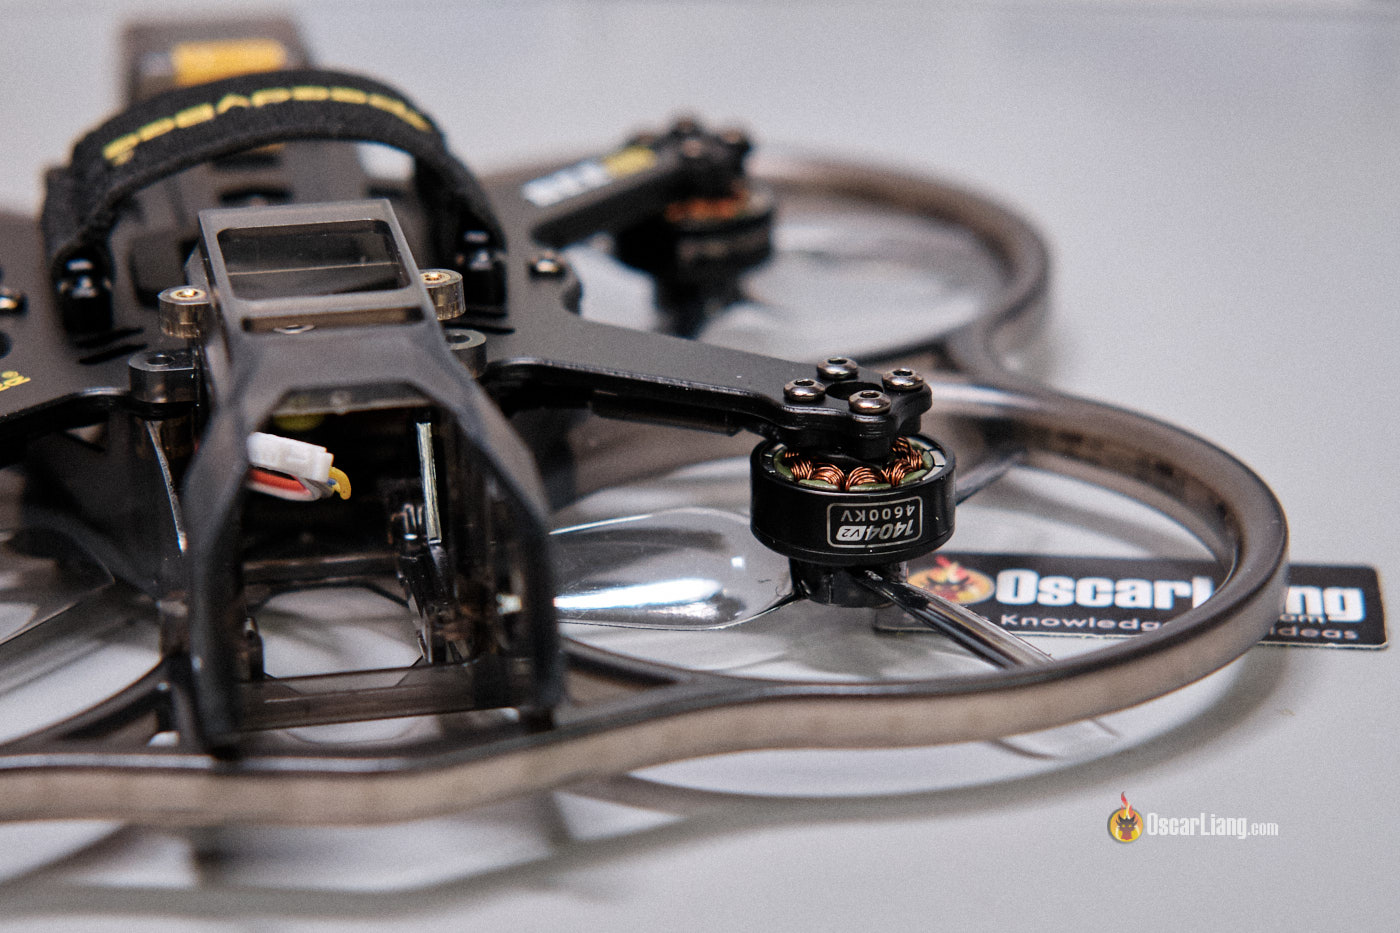
In a pusher configuration, the motors are mounted upside down, with propellers underneath the arms pushing air downward instead.
This setup is commonly used in cinematic FPV drones to keep the props out of the camera’s view. It’s also seen in some specialty drones where aerodynamics or component placement benefits from this layout.
Pros and Cons of a Pusher Configuration
Pros:
- Improved Aerodynamics and Efficiency – Some argue that having the arms above the propeller allows more air to be moved for the same power, leading to slightly more efficient flight.
- Better Camera Visibility – As the propellers are mounted further away from the camera, the props become less likely to appear in footage, making it an attractive option for cinematic FPV drones.
- More Component Space – With the props underneath, there’s often more room on the top plate for mounting components like batteries, action cameras, or other FPV gear.
Cons:
- Landing Challenges – Many drone frames are designed to land on their bottom plate. With upside-down motors, the motors and props become landing points, which isn’t ideal for durability. Therefore you will probably need landing gear or taller prop guards to land on.
- Vulnerability to Debris when taking off – When taking off, the props in a pusher setup are closer to the ground, increasing the chance of getting obstructed by dirt, grass, small rocks or carpet. This is especially problematic for freestyle, racing, or tiny whoop drones that crash frequently and takeoff from the same spot.
- Reversing Motor Directions – Switching to a pusher setup means reversing the motor spin direction in Betaflight (or whatever flight controller software you use), which adds extra complexity during setup. Not very beginner friendly.
How to Convert Your Drone to a Pusher Configuration
If you want to switch to a pusher setup, follow these steps:
1. Flip the Motors
- Unscrew and mount the motors upside down.
2. Reverse Motor Rotation in Betaflight
- Since the motors are now upside down, they will spin in the opposite direction, and you should reverse it.
- To do this, change motor direction in the ESC settings by following this guide: https://oscarliang.com/change-motor-spin-direction-quadcopter/
- Then tell Betaflight the motors are spinning the opposite direction by going to Betaflight Configurator → Motors Tab and enable “Motor Direction is Reversed”.
3. Flip Over Propellers
- Remove and flip the props upside down when reinstalling them.
- The leading edge should still be facing forward in the direction of travel, even though the props are now below the arms.
4. Test Motor Direction
- Use the Sliders in the Motors tab in Betaflight to confirm all motors are spinning the correct way before arming the drone.
Is a Pusher Setup Right for You?
The pusher configuration isn’t for everyone. Freestyle, racing and tiny whoop pilots who frequently crash may find it impractical due to propeller obstructions and rough landings. On the other hand, cinematic drone pilots looking for a cleaner camera view may benefit from the setup.
Would you try a pusher setup on your drone? Let me know your thoughts!
1 comment
So are you saying that the props upside down means that the props push out from the center of the drone?