In this post we will compare 4 popular mini quad (micro quadcopter) frames that runs 3″ propellers.
This article is written by MADS HENRICHSEN.
The brushless micro quad frames we are comparing here are:
- Verdin 115
- Minimalist 128 v2
- MRM Scythe 130
- ZMR150
Verdin 115
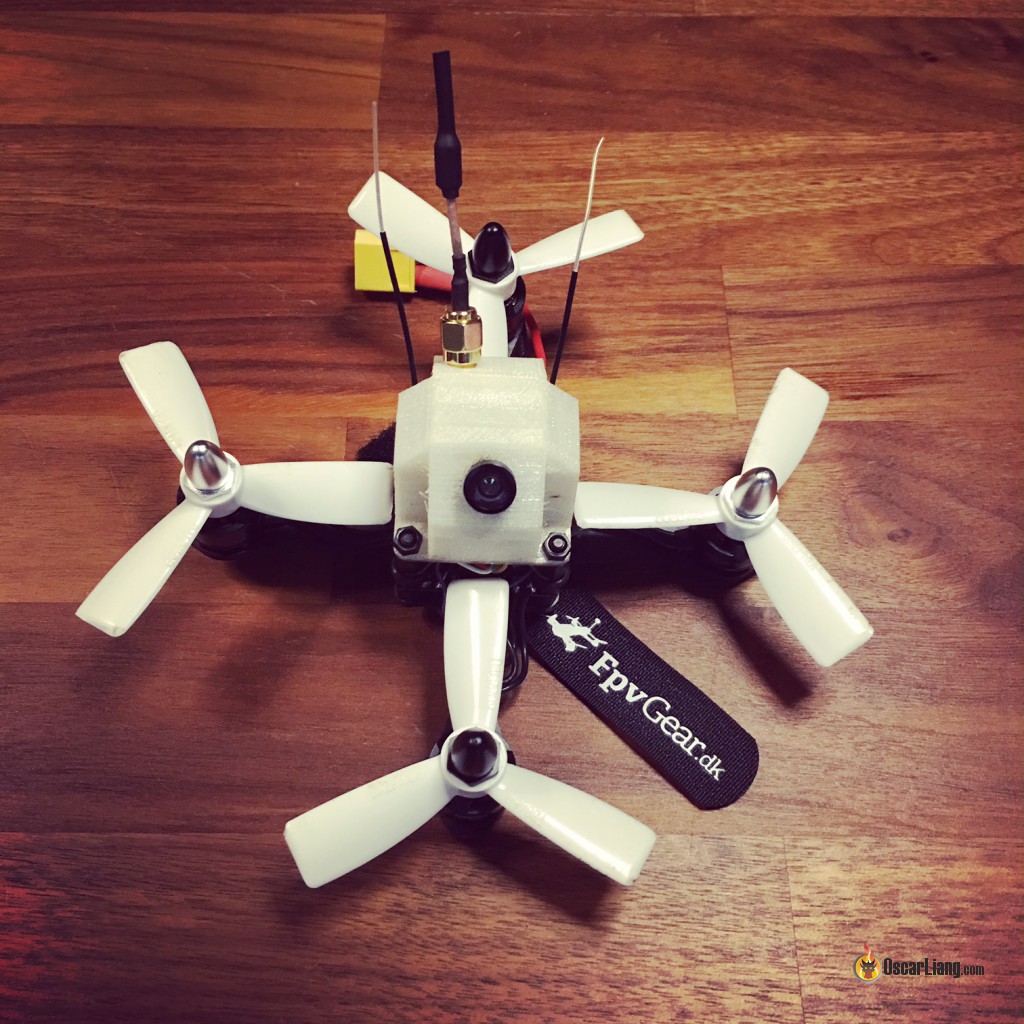
Verdin 115 is a very unique and small 3” mini quad frame. It’s in fact the smallest 3” you can get while still using the standard 30,5 mounting holes for flight controller.
The frame itself is made by Mohd Fadzlee Jahari, and cut by ArmattanProductions. The quality of the carbon is fantastic – absolutely no complaints here!
I did have one issue with the frame; the holes for the c-lips are too small for some motors, but not by very much – somewhere in-between 0,1-0,2mm. The holes size made the clips unable to spin. So I had to enlarge the holes by running a screwdriver in the holes. Wasn’t really hard, but kind of annoying when you just want it to work out of the box. Emailed Mohd about it and made him aware of the issue – unsure if he has fixed it yet.
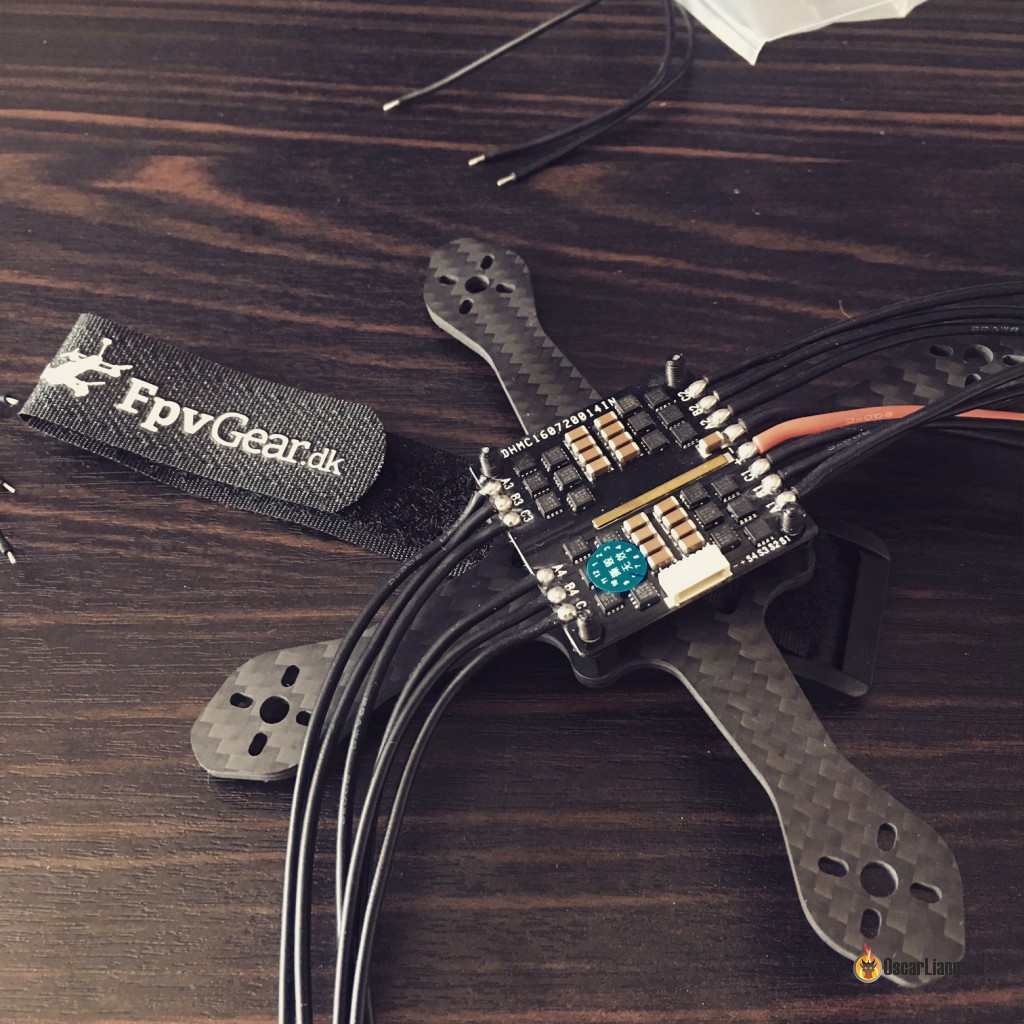
Since that is true, the Verdin 115 is a Quad+, which does make the build a lot harder than your typical x build. This is even more true since the quad is so small that everything needs to be directly soldered to make space.
I highly recommend that you use a H-layout flight controller for this build. You CANNOT have wires going out over the edge your propellers will cut the wires (I lost my telemetry wire this way).
Here is what I recommend for this build:
- Racerstar 4 in 1 ESC board
- Lux FC or KISS FC
- DYS 1306 4000Kv motors
- Any other 3” propeller than DAL T3045, they’re simply too heavy if you plan on flying 4S on this thing. Dal T3030 is fine
So how does it fly? Amazing. This is by far the most fun I’ve had on a quad. When flying a + configuration instead of an X, you should in theory have a little less yaw stability, but it was not something I noticed at all.
The build came in at exactly 100 grams without FPV gear.
Conclusion
Verdin 115 is a fun quadcopter to fly, but very hard for a beginner to build. I wouldn’t recommend this unless you’re very good at soldering and have built something close to this size before.
I will give this 5 out of 6 – Would have gotten 6 if the holes were big enough for the motor c-clips out of the box.
Minimalist 128 v2
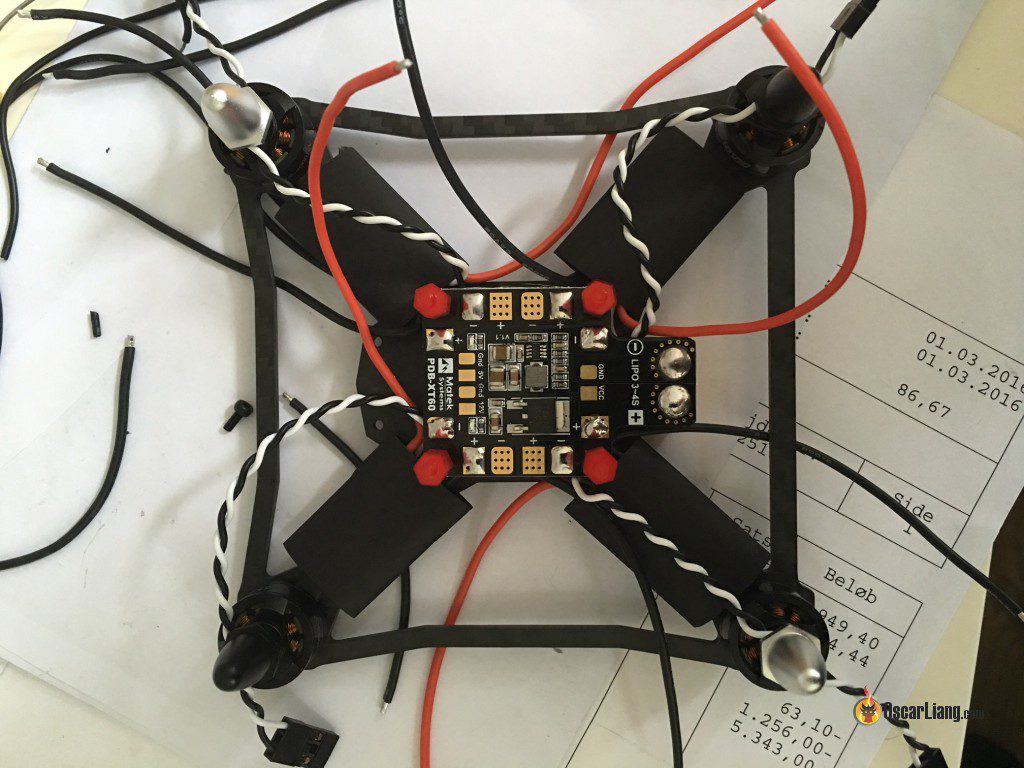
The difference between v1 and v2 is the strengthened arms on v2. This frame is also cut by Armanttan and designed by Mohd. Again, the carbon is excellent and the cut is perfect. It comes with the 3mm bottom plate and an 1mm top plate. There are enough standoffs for a PDB and FC. This frame doesn’t have the problem with the motor c-clips, and the motors are able to spin without any friction.
This is a standard X configuration, which is what I’m used to fly.
If you’re going to build this with 4 standalone esc’s then it’s going to be a very tight fit, which is why I would recommend getting a 4-in-1 ESC for this frame.
Once again I used a 3D printed pod to fit the camera and video transmitter. The quad came in at 105 grams without FPV gear. The build is very tight, but you can use a full 36x36mm FC board on this, so no need to use a H board like KISS or LUX, since you can run wires on the sides without getting them cut by props.
MRM Scythe 130
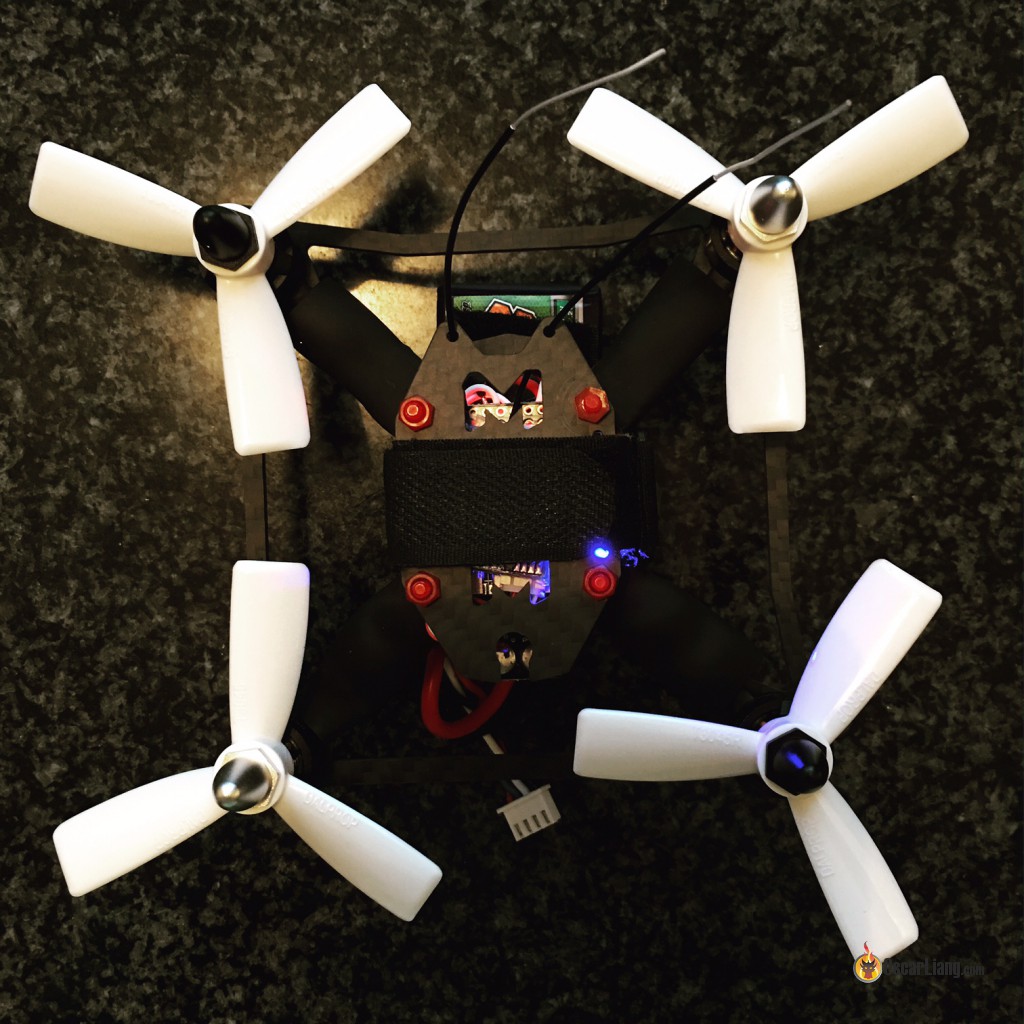
MultiRotorMania created the Scythe 130, which is a small version of the MRM Scythe. The quad is not a true X, but it’s very close. The frame is 2,5mm thick and is very nicely cut.
The frame is made with carbon fiber in between each motor, which should give a stronger frame at less weight. I’m not sure if it’s true, but nonetheless it looks cool. The frame is built a little longer to the front and back, so you can fit a vTX on the back and a camera in the front.
I highly recommend that you buy the 3D printed parts for the camera and buy the small CMOS camera too. It’s almost the only way the frame will work unless you have a pod on the top.
This is overall an easier build than the Verdin 115, but you will need a very small VTX if you want it to hang on the backside of the frame. An Aomway 40Ch VTX is too big for this. It will also be a very tight build if you choose to have the VTX in the stack.
The frame is build so you’re maxed out at 2 in a stack unless you want to run long screws to your 3D printed camera mount.
This build came in at around 115 grams without FPV gear.
Here is what I recommend for this build:
- Some small 20a ESC’s
- Any F3 board or KISS
- DYS 1306 4000Kv motors or similar
- A small VTX like Eachine 200mw or TBS 5G8 Hv
- The small 2 gram camera on Banggood
Conclusion
This is clearly the best thought-out frame of all the frames I tested, but you’ll need to buy the 3D printed camera mount to make the most of it. Overall the quad flies very good.
One thing I would like MRM to add was the possibility to buy different 3D prints with different camera angles. I think it’s a 20 degree right now, which feels kind of slow to fly when you’re used to flying 45 degrees.
I’ll give this frame 5 out 6, subtracting one point for no adjustable camera angle. Otherwise the frame is pretty solid and very well thought out.
ZMR150
This frame is by far the cheapest of all the frames I tested, and you can easily feel it on the carbon. Sure, the frame is very light for it’s size, but that is because the bottom plate is only 2 mm thick. Overall build quality of the frame is “fine”. Nothing special – the holes match up.
There is actually a different ZMR150 from a different manufacturer – the Team Legit ZMR150. Similar layout, and seems to be better designed.
The ZMR150 is a way easier build than the rest of the frames, and it’s a lot more spacious too. Even though it could seem like this frame could fit 3.5” props, it won’t.
Since this frame is a lot more spacious, you can choose any components you want for this frame, not many limitations on it.
The camera is mounted in front, and there is a bracket you can use to give it some angle. There is only one setting for the bracket, and I think it’s about 20-25 degrees. Luckily I had a bracket camera laying around that I used for the build.
Overall the build was very easy, loads of space to work with compared to the other frames. Not much need for excessive planning to make it work. The frame without FPV gear weights about 125g, which is a lot more than the others, but that might have been the longer wires and less tidy soldering, since there is a lot more space.
The ZMR150 also comes with a soft mount bracket for an action cam. But since it has no angle, then it’s pretty much useless.
Here is what I recommend for this build:
- Any 20a ESC
- Any F3 board or KISS
- DYS 1306 4000Kv motors or similar
- Any VTX
- A board fpv camera
Conclusion
Compared to all other frames i have built, the ZMR150 is really easy to build. The carbon is fine, but it’s just too thin. I’ve broken two bottom plates from very small drops. At USD$12 it’s decent for the price, but you’ll quickly run that number up in spare bottom plates.
I’ll give the frame 3 out of 6. It’s just a boring design and too weak to handle any real crashes.
Pro tip:
When building the X frames with a pod, then drop the nylon screws, they’ll break in a couple of crashes, which is annoying to replace all the time. Spend another 3-4 grams and use some long m3 screws and use nylon spacers instead. Works much better.
More Brushless Micro Frame Builds
Check out these builds for more frame ideas and reviews:
Author: MADS HENRICHSEN from FPVGear.dk


6 comments
I love the way that whenever I think of a question, you’ve written an article on it!
This is so useful it could do with an update. there’s quite a few more options e.g. Tarot 130, and what about the Diatone 160 frames? they’re a bit bigger, but quite light…
Thanks :)
Yea a lot of articles on this blog need updating, and many of them have higher priority unfortunately :)
Hi guys,
Let’s find here my 130 armattan design named ULTIM 130, standard and X version.
rcgroups.com/forums/showthread.php?t=2726385
Main feature is 3″ props, full size cam, Piko BLX FC, 3mm bottom plate with no holes where they should not be…
What about the atom?
Hi,
You can buy a better quality ZMR150 with 3mm bottom plate and nicer cut/material. The top plate is still very thin and i’ve used normal 35mm stand-offs to fit a full size camera and built a centre stack of PDB, FC and nylon stand-offs to give it some strength though i’d still mount the battery on the bottom.
Cheers.
https://www.airbladeuav.com/products/airblade-team-legit-zmr150
Yes we did mentioned there is another version of ZMR150 out there in the article :) thanks for the comment though