The Runcam Micro Swift 2 is one of the smallest FPV cameras and the new version has just added voltage OSD and some other improvements.
Update (Mar 2018): There is a new version for this camera, the Micro Swift 3!
To learn more about FPV camera: How To Choose FPV Camera For Quadcopters and Drones
Purchase From:
- Banggood: http://bit.ly/2ukXEic
- GetFPV: https://goo.gl/PbokSB
- Amazon: http://amzn.to/2DWjHl8
- Runcam: http://bit.ly/2wmurVB
What’s special about the Runcam Micro Swift 2?
2 new features have been added to the popular Micro Swift FPV camera:
- OSD capability to display battery voltage, timer, pilot name etc. Voltage OSD can be calibrated with precision down to 0.1V. The menu is very easy to work with
- “One click” scene preset change – allows you to change camera pre-defined settings based on lighting, using the OSD menu control
Specification
- Price: $35
- Sensor: 1/3″ SONY Super HAD II CCD (same sensor used on the Swift 2)
- Weight: 5.8g
- dimension: 19mm x 19mm x 19mm
- Input voltage: 5V-36V
- Lens: M8 2.1mm FOV160° or 2.3mm FOV145° (option available at purchase)
Unboxing
The Swift Micro 2 camera comes with 6 screws (2 different sizes), a sturdy, metal mounting bracket, a silicone wire and an OSD menu control.
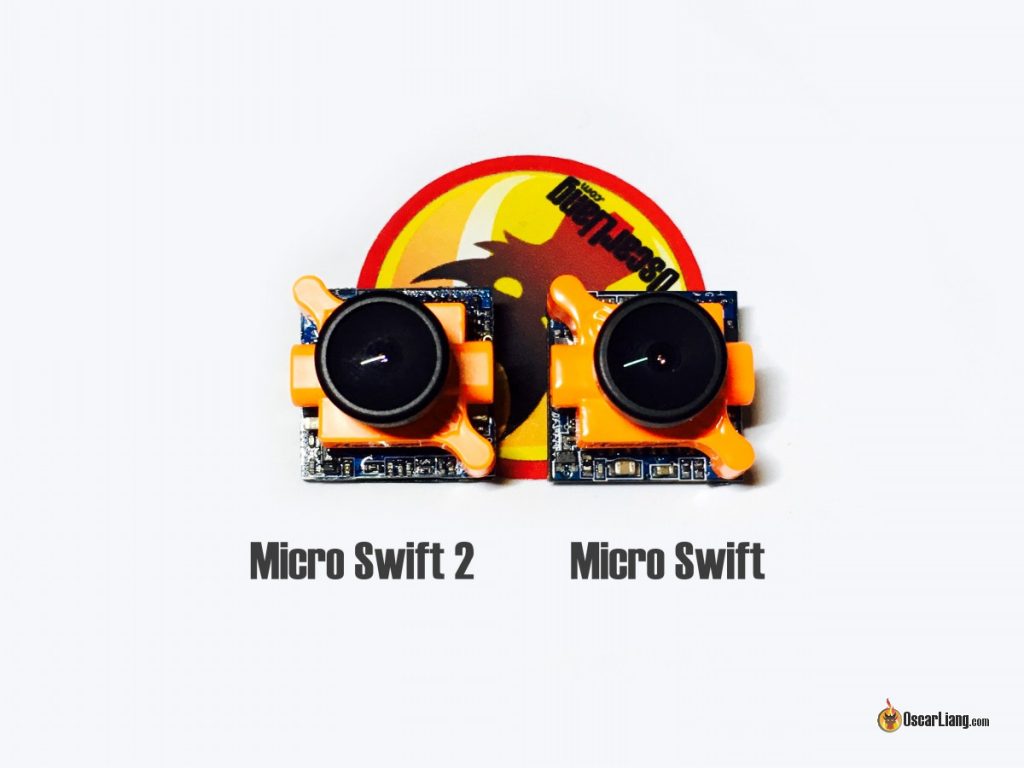
The Micro Swift 2 looks nearly identical to the previous version: using the same housing material and design, same weight and dimension, they even have the same lens on. The only visible difference is the additional “VBAT+” pin on the back.
Close up of the Micro Swift 2 PCB and sensor. Unlike the previous Micro Swift that has the IR filter glued to the sensor, in the new version has been moved to the lens.
Here is the manual.
Go through the OSD Menu
The camera setting menu is exactly the same as the previous micro swift, or the swift 2, so we will just have a look at the OSD menu.
The OSD is pretty simple, there are 5 elements that can be displayed, and they can be turned on and off individually:
- System info: it tells you if your camera is PAL or NTSC, and what scene setting you are using. This info only appears when you power up your camera and will disappear after a few seconds
- Horizon: not very useful IMO. It doesn’t really show you the horizon because the camera doesn’t have an accelerometer nor connected to one. It’s just a horizontal line on the display
- Voltage: that’s your battery voltage. If nothing is connected, 4.5V is displayed
- Pilot Name: your customized name, allows 7 characters max
- Timer: the time since the camera has been powered on
- To activate OSD menu – long press UP for 3 seconds
- To calibrate VBAT voltage – long press LEFT for 3 seconds
- To switch between preset scene configuration – long press RIGHT for 3 seconds
- To reset all OSD settings back to default – long press DOWN for 10 seconds
Here is how the OSD menu looks like, all the OSD elements can be configured here:
Changing pilot name takes a bit of practice and patience. You can’t seem to jump characters, but select them one by one.
Another cool feature is the voltage colour warning. When the VBAT voltage drops below your “Alarm” voltage (which you can set in the OSD menu), the voltage would become purple and start flashing.
Finally there is the “one-touch” scene setting control. Runcam pre-configured 5 settings for different lighting conditions:
- Lightrax
- Outdoor
- Indoor
- Cloudy
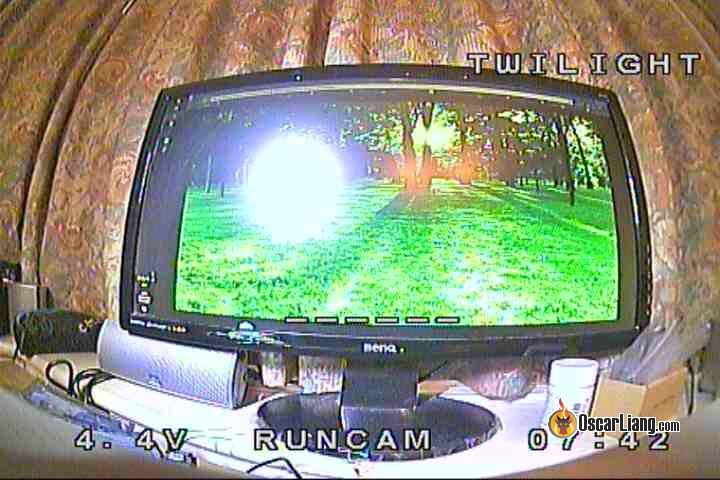
- Twilight
- Personal (your own setting)
This is a pretty cool feature as it could save us tons of time figuring out the best settings for our flying environment. However I don’t see too many people would be using it because it requires the OSD menu control to be plugged in. Once the camera is installed in the frame, the connector becomes very difficult to access. This is especially the case for micro quads.
Image Quality and Camera Latency
I have tested latency which is very similar to the previous Micro Swift, at 28ms.
Here is the image quality testing:
Some flight footage from the camera:
My Favorite settings
- Brightness – 55
- Contrast – 120
- Sharpness – 31 (max)
- Display – LCD
- Gamma – 0.5


11 comments
Oscar,
Is it possible to direct wire the cam to the battery of a 2” quad 2S powered ?
It is 5-36V.
The BEC of my FC does not handle 200mW + cam :(
Yes you can.
I’ve been thinking about using the micro swift lenses on the micro swift 2 so that its no longer IR blocked. My reasoning for this is I would like to do more late night flying without relying on large sources of night light, it there any reason i should not do this and if so could you explain why?
no it doesn’t work that way, the IR coating is necessary, the difference in IR blocked and IR sensitive is in the type of coating.
If you use a non coated lens with a non coated sensor you will get a purpose-ish image.
Thanks for the reply, someone over at rcgroups said the same thing but didn’t really explain why this is, so, i did a little research and apparently a ccd without any filter present will pick up all the light that the sensor can detect. From what i understand a UV filter instead of an IR filter may be the trick but i could be wrong.
The versions i see at my local webstore, doesn’t include a osdmenu dongle…
is it easy to make one yourself ?
Can I put a 1.8 lens in this camera?
as long as the thread size is the same and it’s a IR blocked lens you should be fine.
I am guessing all your testing was done with the 2.1mm lens but it is not mentioned. There is a huge amount of grief over loose lens elements in a large percentage of there 2.3mm lenses. I personally got 2 bad lenses which produce too much shake for FPV. Swapping in the 2.1mm lens fixes the shake but is to small a view for me unless I am doing very contained backyard style flying. Image quality seems great for a camera of this size but a bad lens at the longer focal length makes this unit only suitable for slower flying micro quads. RCgroups has a site dedicated to this cam and comments by many users experiencing issues with the 2.3mm lenses. I would recommend staying away from this camera unless you can be happy with a super wide angle view and are a slow flyer.
I do not consider myself a “slow flyer”, and I much prefer the wider angle lens to be able to see the next gate faster. Also, doing loops around objects are easier with the wider field of view, so I don’t get what you saying here.
Most racers I know fly quite a large fov
My RunCam micro swift 2 arrived today. I have to say that I never realise the dimension until I opened the box; I am absolutely amazed at the size of the cam. I ordered the cam because I thought that I may install it on a different size frames in the future. This is my first build so picking components is a still a learning curve. Now I need to think how I will mount cam on the frame.
Wow…