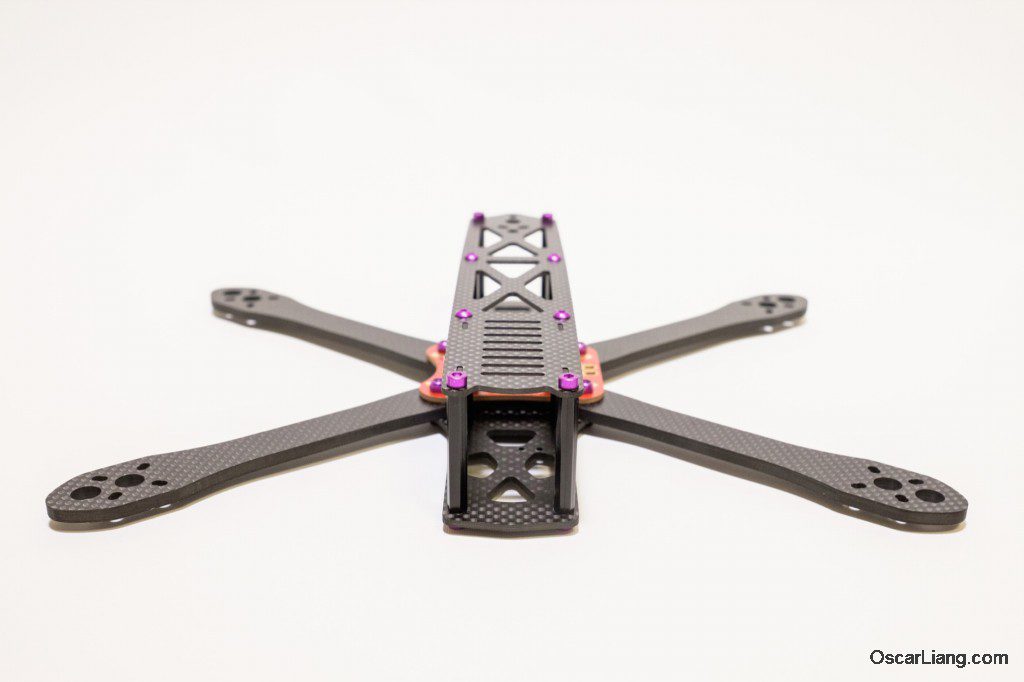
In this article we will have a look at the Alien 6″ mini quad frame. The Alien is probably one of the most popular frames currently and loved by many top FPV pilots. We will find out what you get for paying premium price, and walk you through how we built it.
You can pick up the Alien frames from ImpulseRC in Australia, and it’s recently stocked by RotorRiot Store in United States as well.
Alien or Alien Seconds?
There are two types of Alien mini quad frames: regular and seconds. The main differences between the two are the quality and price.
Seconds is slightly cheaper and may have some imperfections found during the strict QC process as explained by Sean from ImpulseRC:
“Usually the Seconds frames are the same contents as the full ones, but sometimes there might only be one top plate. It really depends on what percentage of the CF has defects. It’s always noted on the page if the kits are different. Sometimes if we don’t have enough of one type of plate to make a run of seconds we will use good ones to make up the numbers. When that happens it’s usually just the smaller plates like the camera mounting plates or antenna mounting plate.
If it’s anything more than surface scratches or scuffing then it goes in the bin! As for the A grade kits, they are a premium product so we try to ensure everything is pretty much perfect.”
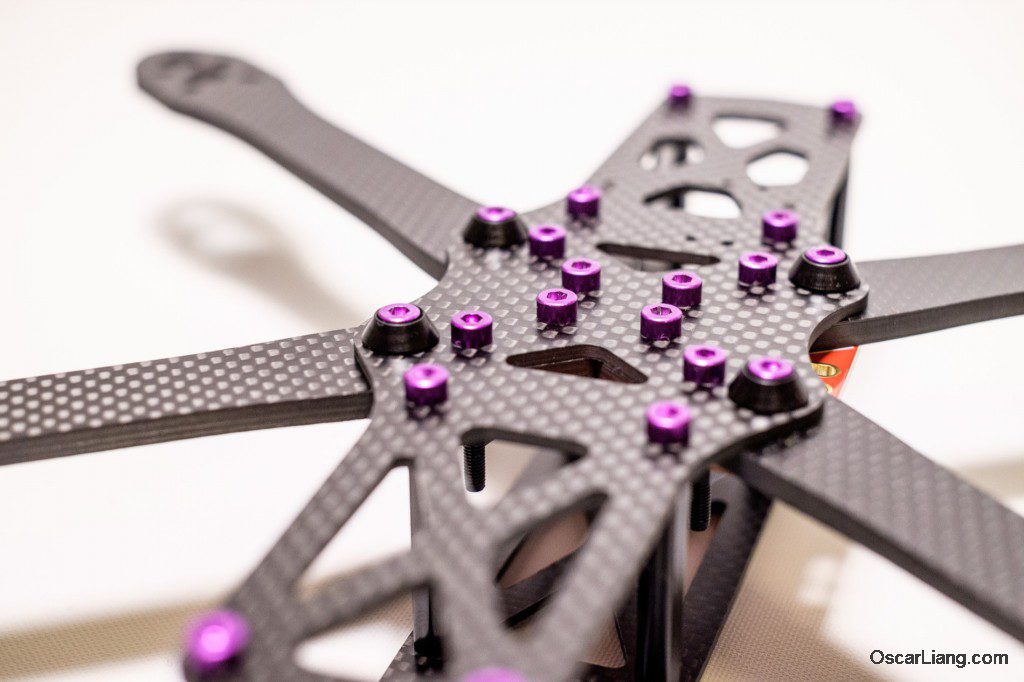
The frame we reviewed was the Alien 6″ Seconds. The ONLY imperfection I have found on the whole frame was the marks on the motor mounts, pictured below. You have to look closely to actually notice it.
Frame Review – Closer Look
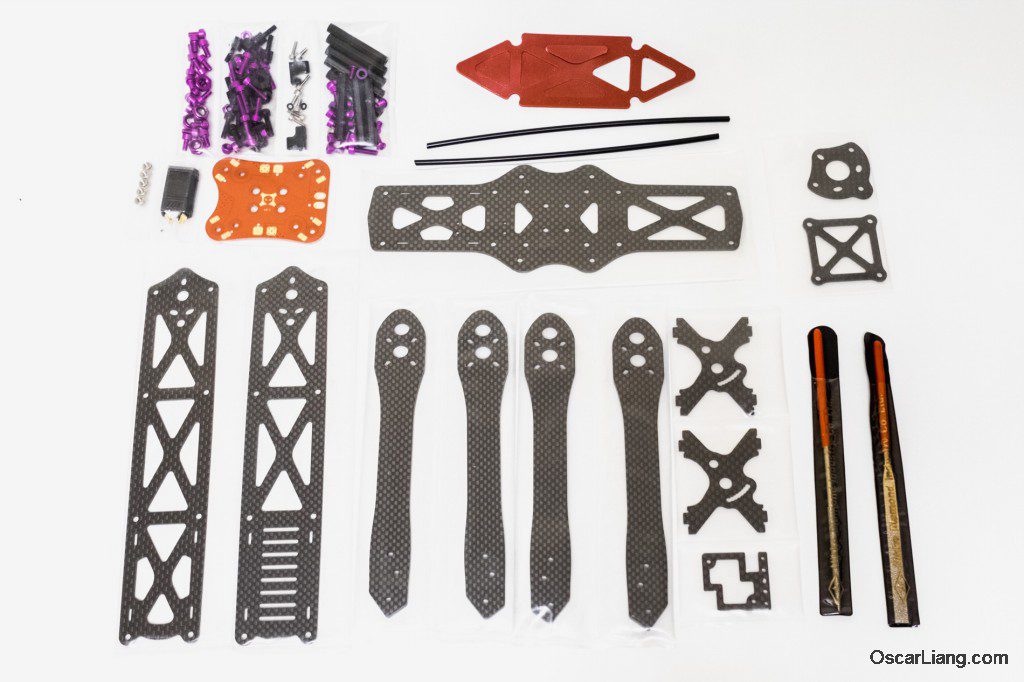
Alien arrived in a small bag packaging.
Package contents:
- 2mm main plate
- 1.5mm top plate
- 1.5mm HD camera top plate
- 4mm arms
- 2 x fpv camera side X plates
- 2 x fpv camera plate
- Flight controller cover / video transmitter plate
- Antenna plate
- Power distribution board with XT-60 connectors pair (black)
- Hardware, aluminium standoffs and fasteners
- Radio antenna straws
- Non-slip neoprene pad for the lipo
- 2 x diamond files
Assembled frame weights 138g.
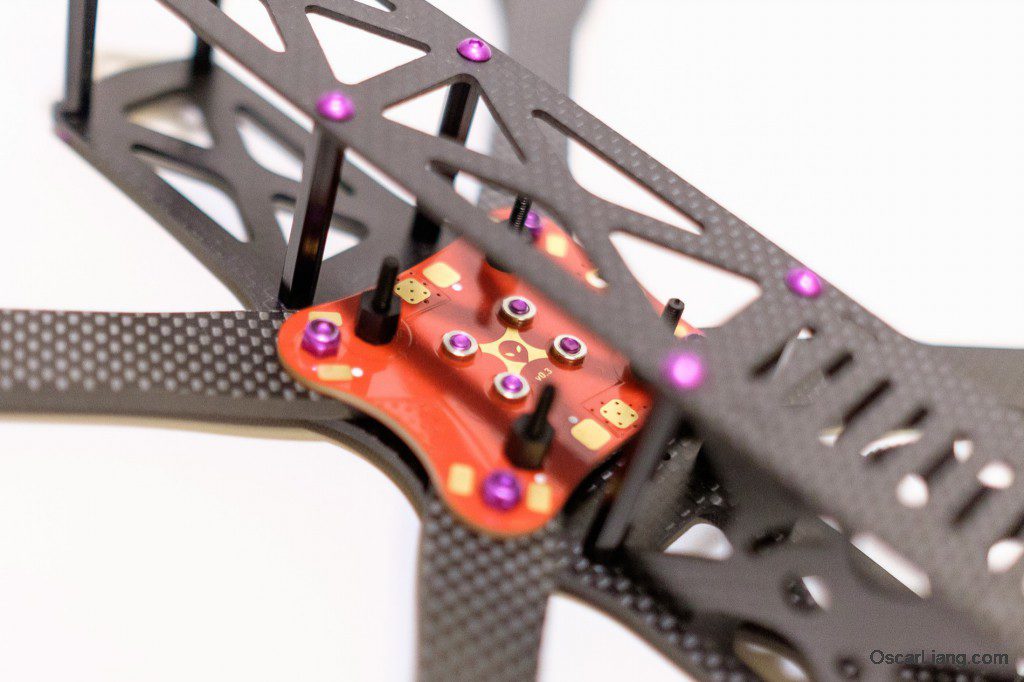
Frame construction is fairly simple. Arms are sandwiched between the main plate and the power distribution board.
Supplied power distribution board has pads for power to the ESCs, two extra power pads for connecting the FC, video transmitter and LEDs. There are also holes for soldering the XT60 connector. However note that there is no voltage regulators on that power distribution board.
FPV camera can be mounted on the frame between supplied X side plates. It is designed for HS1177/Swift cameras. By screwing the cam plate on the back of the camera, the angle can be adjusted by changing position of two screws on the X plate. Each hole denotes 5 degrees of the angle change, from 0 to 45 degrees.
Alien’s carbon fibre quality is excellent. Apart from the one imperfection discovered on the arm, there was not even a single scratch mark on the surface. The camera X plates fit perfectly into the main and the top plates.
Before assembling the frame for the build, I used the supplied diamond files to prepare carbon fibre edges. This process is not necessary but makes huge difference in day to day frame use.
All sharp edged are filed to avoid splitting carbon fibre layers. This process was done under the running water to avoid any particles in the air that are harmful to our lungs. I have applied Loctite 401 glue all around the edges to make the frame even better crash resistance.
Alien 6″ build log
Parts list:
- ZMX 2206 2140kv motors
- KISS 24A ESC
- KISS Fligh Controller
- Aomway 200mw Video Transmitter
- FrSky X4R-SB
- HS1177 FPV Camera
- DemonRC LEDs
I started the build by preparing the PDB: soldered a short pigtail with XT-60 and tinned the solder pads. I assembled the frame with PDB on.
I measured the wires length between the PDB, ESC and motors and soldered power, signal and telemetry wires on the ESCs.
I then soldered the motors to the ESCs.
Installed the motors on the arms, put heatshrinks on ESCs (not shrinked yet) and soldered power wires to PDB. Also soldered FC power wire and VTX power wire from the front and back pads on PDB. For the first time used capacitor (25V 470uF) instead of power filter. Soldered it directly to VTX power pads on PDB.
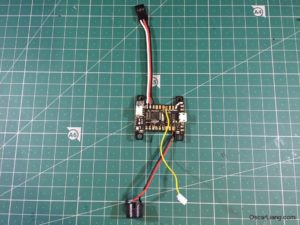
Soldered the radio receiver servo wire with plug, X4R telemetry wire and the buzzer to flight controller.
Installed flight controller and soldered all signal, telemetry and ground wires onto it. Also added a wires for LED lights coming from the FC power pads at the front of PDB.
In the meantime prepared the VTX and camera. Took a measurement on the frame for the wires length and soldered camera wires so that HS1177 is powered up directly from Aomway VTX.
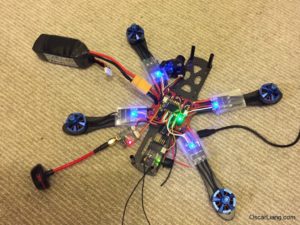
Test connected everything together to see if it works. Changed two motors rotation direction by soldering small pads on KISS ESCs. Everything worked for the first time.
Installed DemonRC LED lights and used heatshrinks to create a support for them.
Installed X4R at the back of the frame. Wrapped the radio antennas around the standoffs and secured it by using two zip ties and two heatshrinks. Using this method radio receiver and antennas stay completely on the bottom part of the frame, even with top plate removed.
Attached video transmitter to the underside of the top plate. Secured antenna with the zip ties in few locations. Connected HS1177 and installed it in-between the X camera plates. Dip switches on the VTX are fully accessible through the cutout in the top plate so changing video channels will be easy and unrestricted.
Video transmitter power cable is the only wire coming from the bottom of the frame to the top plate. Top plate can be removed completely with this wire taken out.
Voila ! Job done. Build completed.
Weight
Fully built 6″ Alien on its own with props weights 395g.
With a GoPro 4 and Tattu 1800 75C 4S lipo 695g.
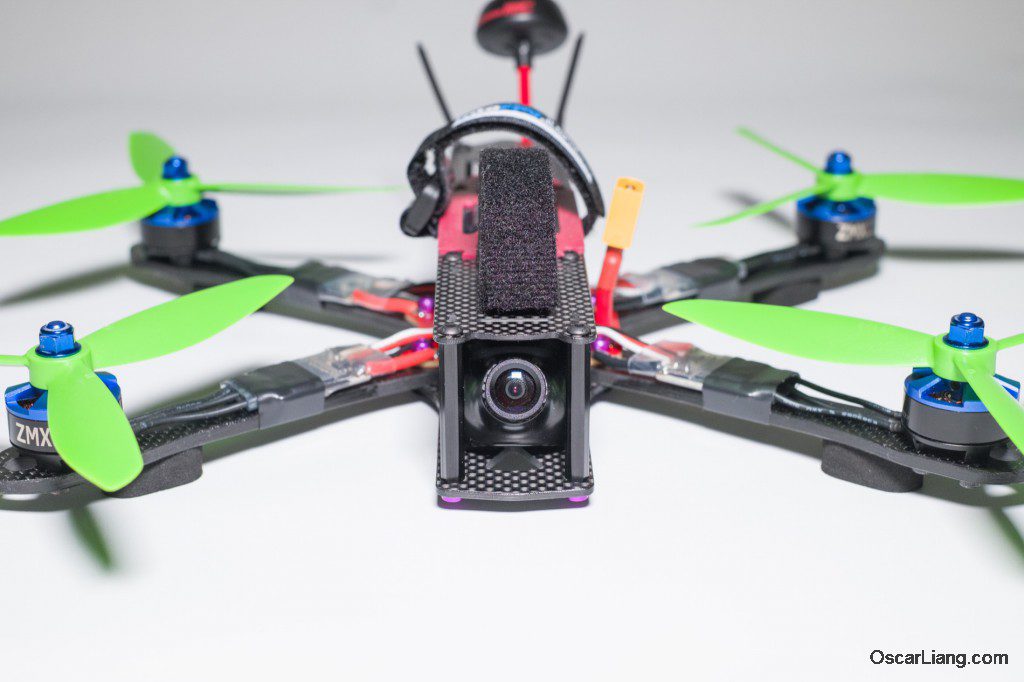
Photos of finished build
Flying experience
6″ mini quads fly little bit different than 5″. Because of bigger prop diameter, quad feels “more attached to the air” than 5″ quads ,but on the other hand, it is less agile. I really like that relaxed flying experience compared to all that craziness of 5″ builds.
Worth mentioning that when using KISS FC and 24A ESC combo, there is only a minimum amount of tuning required. In my case, the only adjustment I made over the KISS stock settings was to raise P on Pitch to compensate for more weights of GoPro and lipo. During the initial test flight, quad was locked in and smooth already.
It is said that bigger quads are easier to tune than smaller ones and I must agree.
During my maiden at the park I had a nasty crash with the tress and quad fell from about 10m down through the branches, hitting many of them while spinning and down on the grass. There was no damage whatsoever.
Conclusion
Before I have had a chance to test Alien myself, I must admit, I was rather sceptical about the narrow arms. I was wrong. In fact, after having the frame in my hands I can say that Alien is a very stiff frame because arms are sandwiched between PDB and main plate with 3 mounting points on each. Looks is totally deceiving here.
Building Alien was fun. It was an easy build because there is a lot of room on the frame for components. PDB is integrated with the frame as a structural element and that helps to build it too.
However, the biggest complaint made by the people in hobby is most likely the price.
What you get for the premium price?
- Very nice looking frame design
- Great quality of carbon fibre. Selected after strict QC process
- Power distribution board is included
- Cheaper frame version called “Seconds” for those who want to save some money with still good quality of the product
- Camera angle adjustment bracket – very handy addition
- Great frame strength across the arms
- Two top plates supplied to choose from (may vary)
- Diamond files supplied
- Supplied hardware include spare screws and also motor mount screws to match the color
- Fast customer support
In my opinion my money was well spent, although having fleet of few Aliens may be pretty expensive. This product has a premium feel for sure.
Wasn’t sure what to expect when getting Alien Seconds instead of a regular one but I was pleasantly surprised again by how good the frame quality actually was and can recommend it over the regular Alien frame if someone wants to save $$$.
As with all products, there are things to consider
- Premium comes with the price
- Frame is a bit on a have side compared to other 6″ frames that may be even 40-50g lighter
- KISS 24A ESC is wider than the actual arms and it sticks outside it about 2mm each side
- There is no alternative mounting option for the HS1177 camera other than X side plates
- ImpulseRC is located in Australia and RotorRiot in USA, so VAT and duty will be added to the final frame cost when buying from outside of those countries. It may be as much as 1/3 of the price, depending on location. Shipping is also expensive
- Lack of re-sellers in EU or Asia
- For the price it would be good to have more stickers and maybe a battery strap :)
Now I can say that I have seen an Alien in real life. Didn’t even have to call agent Mulder from X-Files to help me out to deal with it. Don’t think he knows how to do soldering iron on the Alien :)
Author : Artur Banach Join us as a guest writer and help move the hobby forward.














10 comments
Hi, I was wondering if this is really a KISS only frame. I wanted to get the alien because I love the look of it but I’m going to be running a 4in1 ESC Stack. The PDB honestly confuses me a lot.
Considering a 6″ alien build using 24a KISS ESC and the lumenier 2206 2000kv motor. Did you have any problems running with 6 inch props and this ESC? Does it match the current draw? I want the ease of KISS FC alongside KISS ESC running DShot but don’t want to blow ESC with the power draw of 6 inch props. Have scoured Internet and found people using 20-30a ESCs. Any advice you have would be much appreciated.
How many minutes are the duration of the flight with and without acrobations?
Thanks!
that depends on how fast you fly, what motor/prop/esc you use, your PID tuning, what battery you use… basically no one can answer that :)
but on a mini quad you can generally get 4 to 8 mins of flight time..
What battery is best for that build ?
1300mah – 1800mah 4S 50C or more.
Any benedits from that capacitor?
it’s to reduce voltage spikes from ESC
Hey Artur, had a question on the XT60. I know a lot of people with integrated PDBs solder the XT60 to the PDB directly. Any reason you used a bit of wire below the XT60 to hook it up to the frame?
Thanks!
I asked Artur, he said it’s for convenience, when you need to replace the PDB or XT60 connector it’s easier to de-solder with the wires..