Did you just buy the Radiomaster Zorro radio transmitter, and have no idea how to set it up? In this tutorial I will show you the important settings and configurations you should change when you get your Zorro.

Check out my review of the Radiomaster Zorro.
Table of Contents
Install Battery
18350 Li-ion batteries are not included and needs to be purchased separately, you need two of them:
- GetFPV: https://oscarliang.com/product-wa1t
- Banggood: https://oscarliang.com/product-bhyu
- Amazon: https://amzn.to/3sdAjiA
- Radiomaster: https://oscarliang.com/product-xgm0

Potential Start-up Warning Explained
Brand new radios shouldn’t give you any warning when you first turn it on, but in case you do, here’s a list of possible warnings and how to fix them.
- Throttle Warning – your throttle stick is not at the lowest position when the radio is turned on. Simply move the throttle stick (left one) all the way down will get rid of this warning
- Switch Warning (aka Control Warning) – some of the switches are not in their default positions. Simply put all the switches to their UP position (push away from you) to remove this warning
- Failsafe Not Set – Go to “Model Setup” (press MDL button), scroll down and find “Failsafe”, set it to No Pulse
- Alarms Warning – This warning will appear if Sound mode is set to mute
- SD Card Warning – SD card content version does not match the firmware version. If you get this warning, follow this guide to fix it
If everything goes well, you should get to the default home page, which should look something like this.

Zorro Radio Settings
Turn on the radio, hold down the SYS key will take you to the TOOLS page.
Press the PAGE> key twice to scroll to Radio Setup page, and update the following items:
Set Date and time
Date and time might randomly reset, it’s a bug in EdgeTX which will hopefully get fixed in the near future. For now maybe just leave Date and Time unchanged.
Batt range: 6.0 – 8.4
Alarm -> Battery low: 6.6V
Why? A li-ion cell working voltage range is between 3V to 4.2V, with two cells connected in series in the Zorro, that’s 6V to 8.4V. But I set the voltage warning quite a bit higher than min voltage because the voltage drops quicker towards the end of the battery, this should minimize the chance of over-discharging the battery and results in unexpected radio shutdown
Backlight -> Mode: Keys
Why? By default both sticks and buttons will trigger the backlight and it wastes battery. When you are flying you are not really watching the screen so allowing only the keys (menu buttons) to trigger backlight is more sensible
Contrast: 17
Why? I found higher contrast than this leaves “black ink” on the background when screen changes
Finally, scroll to the Hardware page by pressing the PAGE>, scroll down to Int. Module. If you have internal ELRS module, set this to CRSF. If you have the internal multiprotocol module, set this to Multi. This is usually set correctly out of the box, but just in case…
Gimbal Calibration
If the sticks are too stiff or too loose, you can adjust the gimbal spring tension. You probably want to do this first before calibrating the gimbals.
Hold down the SYS key then press “PAGE>” button a few times to go to “HARDWARE” page, select “Calibration” option to calibrate the sticks and sliders. Just follow the instruction, it’s pretty straightforward.
Make sure you only move the sticks as shown in the following image. For best result, avoid moving the sticks in circle. Be as gentle as possible when pushing the sticks, this allows the radio to read the end points correctly.
Don’t forget to calibrate the sliders too.

Battery Voltage Calibration
Measure the voltage of the Li-ion battery inside the radio, because they are connected in series, it should read somewhere between 6V to 8.4V. The goal is to make sure the voltage is the same between the measurement and the value that is shown on the radio.
Take a multimeter, and measure these two points:

If the Zorro is not giving you the same value, you can calibrate it by going to the HARDWARE page, Batt. calib, and set the value to the multimeter measurement.

It’s best to measure the voltage with your radio powered on, it’s more accurate because it takes into account the voltage drop when the radio is running. It’s quite a big difference, when your radio is turned on, voltage can drop up to 0.5V or more.
Model Profiles
The Zorro has 4 model profiles created for you, you can just use one of them depending on what type of model you fly. You can get there by holding down the MDL button.

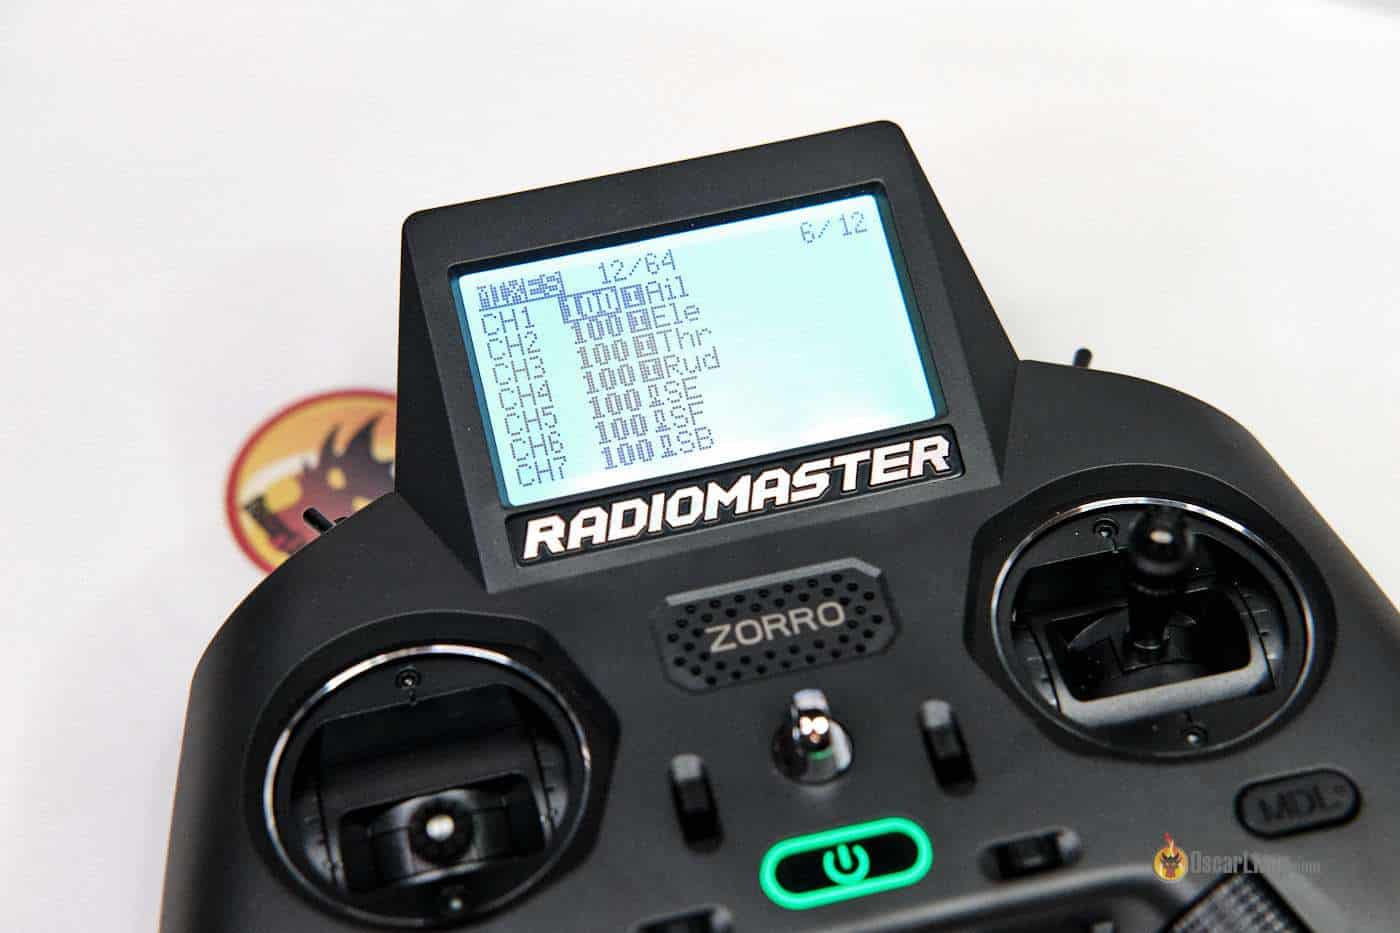
For FPV drones, i recommend just use the “Zorro” profile, it already picked the internal RF module for you, and assigned all the switches to the channels in MIXES. There’s almost nothing you need to change to start flying apart from binding the receiver.
If you are getting the ELRS version, you don’t need to do anything else, just follow my ELRS tutorial to bind to your model.
Create Profile for FPV Sims
Copy the Zorro profile, and make a duplicate profile. Then set both internal RF and external RF to off in model settings. This will save your battery because you don’t need to use RF module when flying FPV simulators via USB cable.
Backup and Restore of Radio Settings
I recommend backing up your radio settings regularly (e.g. before firmware updates and whenever you make big changes)
Radio settings are stored in a file (radio.yml) in the RADIO folder on the SD card. To back it up, simply copy it (hold down ENTER key and select COPY) to the “BACKUP” folder on the SD card, and paste it there (hold down ENTER key and select PASTE).
You might also want to add a date to the end of the filename to keep things organized.
To restore radio settings, simply copy the backed up file to the radio folder, and replace the existing file.
Backup and Restore of Model Profiles
I recommend backing up your model profiles regularly (e.g. before firmware updates and whenever you make big changes)
To back up Models, simply go to the model select screen (hold down MDL key).
Select the model you want to back up and hold down the ENTER key, select Backup Model. A copy of the model profile will be added to the BACKUP folder in the SD card.
To restore, simply copy the backed up model profile to the MODELS folder and replace the existing model.
Firmware Updates
- Update EdgeTX firmware: https://oscarliang.com/flash-edgetx/
- Internal ELRS module Update (for ELRS version): https://oscarliang.com/update-zorro-elrs/
Tips and Tricks
Custom Sound Pack
You can download custom sound pack and replace the original one. My favourite is Amber sound pack, the sound quality is better than the original.
Download here: http://open-txu.org/home/version-2/v2-2-resources-2/
Unzip and replace the files in the SOUND/en folder on the SD card.
Playing Custom Sounds
You can play custom sound files on your TX16S. I have a tutorial on how to create custom sound file for OpenTX radios. You can even play your favourite songs.
Make sure the filename doesn’t exceed 6 characters, and the file extension doesn’t exceed 3 characters, or the file won’t show. And it doesn’t like symbols in the filename either.
File format: 32000khz Mono Wav
Replacing Internal Button Cell Battery
If your radio stops saving settings such as date and time, you probably need to replace the button cell battery inside the radio (or it’s missing). You can buy this quite cheaply online.
Lithium 3V CR1220, Amazon (affiliate link): https://amzn.to/3yDyDBe
21 comments
Thank you for this very usefull info.
I started up the rc hobby again after decenia trying to fly Heli’s with my Spektrum Dx6i.
Now adicted to VolantexRC warbirds 400mm, lost already 2,much wind here in the Netherlands.
These planes deserve a better transmitter,i find your advise upgrading to Zorro 4in1 very good.
The info on YT on many sites on this matter are not so clear as yourse.
Now i can give it a go.
I think people who will share there knowledge and take time to publiss this(cost time and effort)for are the better people on this planet.
Help! I want to setup S1 goosky to the Zorro. No instruction anywhere, can anybody help?
I am using this controller since a while right now.
Today after binding I had the problem that the Controller wont show me the signal. Its bind with my drone and I can fly but I cant see the signal strength. Can you tel me more about this?
Sounds like Telemetry isn’t working or not configured properly.
Hello Oscar! What should I do to make my zorro count new light timer from zero after each arming? I surf all the functions, and can’t find anything to fix it. So now I’m rebooting my radio after every changing battery on a quad (
Help me to fix it, please!
you can go to Special function, and setup a function to reset the timer when you disarm (with the arm switch back to its disarm position). See example here: https://oscarliang.com/create-new-model-profile-edgetx/#:~:text=The%20second%20function%20is%20for%20resetting%20the%20arm%20timer%20when%20the%20arm%20switch%20is%20deactivated.
Hello Oscar, thank you for this setup tutorial.
I want to buy a Radiomaster Zorro 4in1 and because I live in Germany, I need to go for the EU-LBT version, but EU-LBT version is most of the time out of stock and only FCC version is available. My I ask you some questions, because I´m actually overwhelmed.
1.) EdgeTX is the operating system for Radiomaster Zorro and is completely independent from any firmware (FCC or EU-LBT).
2.) Updating the EdgeTX-version has no impact on the firmware (FCC or EU-LBT).
3.) I´m just worried about the pre-installed FCC firmware. How can I re-flash to EU-LBT? Is it just copying the firmware-file to the folder FIRMWARE on the SD-card and then booting the Zorro into bootloader and then flashing the EU-LBT firmware file? Is that all? I´ve downloaded the “Zorro MultiProtocol LBT 2.8.4 Factory SD Contents & Firmware” from https://www.radiomasterrc.com/pages/firmware-updates
4.) And there´s also a multi-protocol firmware for the Radiomaster Zorro.
My I kindly ask for your help?
Thank you very much and have a nice day.
1) Correct.
2) Correct.
3) To change between FCC and EU-LBT, you simply re-flash ExpressLRS (the firmware of your RF module). Before flashing, you need to set the build configuration, the option “Regulatory Domains” allows you to use either FCC or EU-LBT, select ISM_2400 for FCC, or EU_CE_2400 for EU-LBT. Then compile the firmware and flash it as explain in this guide: https://oscarliang.com/update-zorro-elrs-firmware/
4) The multi protocol firmware is for the 4in1 / CC2500 versions, if you got the ExpressLRS (ELRS) version, then this firmware isn’t for you.
I didn’t see how to bind it to a receiver, been looking all over YouTube and Google to learn how to exactly bind it to a receiver, can anybody help? Radiomaster zorro elrs.
See my tutorial here, the instructions apply to all ExpressLRS radios: 3 Ways to Bind ExpressLRS Receivers – Step by Step Guide for Beginners
My external aion elrs doesn’t get power even though I’ve set external module and set crfs. What is the reason for the error. The module bay also outputs electricity.
Here’s what I would do to troubleshoot:
Check the pins in the module bay with a multimeter, see if the red/black pins have voltage (see pinout in this image: https://oscarliang.com/wp-content/uploads/2018/06/connecting-frsky-x-lite-tx-to-tbs-crossfire-module-pinout-wiring.jpg)
If the red pin has voltage, but doesn’t power on the module, check inside the module and make sure the pin solder joints are solid.
I just got the Zorro with the CC2500. I was able to bind it to the Beta FPV Meteor65 lite brushless. I used the video by “Drone Captain” for the set-up. The Arm/Disarm is correct for the Zorro, but is backwards for the Beta FPV Meteor65 lite. Also the Flight mode switch is perfect for the Zorro, but FM1 is turtle mode, not angle mode. FM2 is race mode, not horizon mode and FM3 is another race mode, not ACRO. Is the silverlite stuff different? My Mobula6 worked perfect.
Failsafe Not Set – Go to “Model Setup” (press MDL button), scroll down and find “Failsafe”, set it to No Pulse
this is not in menu of the radio Radiomaster Zorro where it is idk
Did you ever find your failsafe on your zorro
don’t worry about it if you got the ExpressLRS version, Failsafe setting is not available to ELRs version and does not need to be set.
It’s MDL page up then scroll to failsafe.
This will take you to SETUP 2/12 on the Zorro 4 in 1
Good info thanks.
I am trying to connect it to windows 11 to play simulator but win 11 does not recognize the radio
any help appreciated
Try conect to top c-port not bottom.
Hello,
Great info. My Zorro does not keep time or date, was bought in February 2022. Noted in your comments that this may be a bug in Edge TX. Do you know if that bug has been rectified? If yes, mention was also made that if the issue still exists the internal battery may be dead or possibly missing??
Hoping to get a reply, if the bug has been fixed, I may have to open up the radio and replay the battery or it may be even missing one. Thanks..
I just took a look at the releases for bug fixes and didn’t see any mention of date or time bug, so I assume it hasn’t been fixed yet?
Anyway, just check the release logs regularly.